

The SVBONY prototype SV305C OSC CMOS camera with AstroDMx Capture.
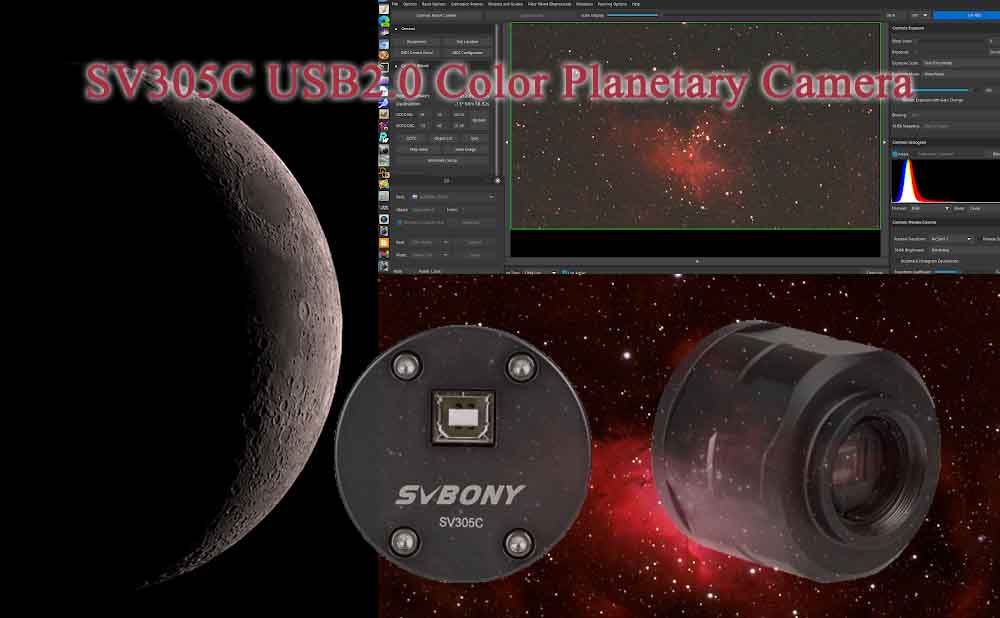
The SVBONY prototype SV305C OSC CMOS camera with AstroDMx Capture.
The SV305C is a replacement for the SV305. They are both uncooled USB 2.0 cameras.
So far we have tested the implementation of the SV305C with the prototype Windows SDK using AstroDMx Capture for Windows although we now have SDKs for other platforms and will test with them in due course.
As always, the testing of a newly implemented camera is combined with the general testing of the developing AstroDMx Capture software. This set of tests involved two different telescopes and two filters.
Lunar imaging
The SV305C, fitted with a 1.25” adapter and a UV/IR cut filter was placed at the focus of a William Optics Zenithstar SD doublet 66mm APO refractor. The scope was also fitted with a Pegasus FocusCube 2 motorised focuser. The scope was mounted on a Celestron AVX mount and the mount was connected to an INDI server running on a Raspberry Pi computer which was located along with its power supply on the top of the telescope. In all cases the SV305C was connected natively to the imaging computer.
The equipment used

As usual, the Celestron AVX GOTO mount was placed on marks on the concrete base which give a fairly good polar alignment. AstroDMx Capture passed the time, altitude and location coordinates to the hand controller via the INDI server. The hand controller which now contained all of the correct information was set to its previous alignment and was unparked by AstroDMx Capture.
AstroDMx Capture then sent the mount/scope to the Moon and focused the scope via the INDI server.
AstroDMx Capture for Windows was used to capture two overlapping 1000-frame SER files of the Moon to cover the whole of the visible disk.

The best 90% of the frames in each SER file were stacked in Autostakkert.
The two resulting stacked lunar images

The images were stitched in Microsoft ICE, wavelet processed in Registax 5.1 and post-processed in the Gimp 2.10.
The 91.5% waxing Moon

Deep Sky imaging
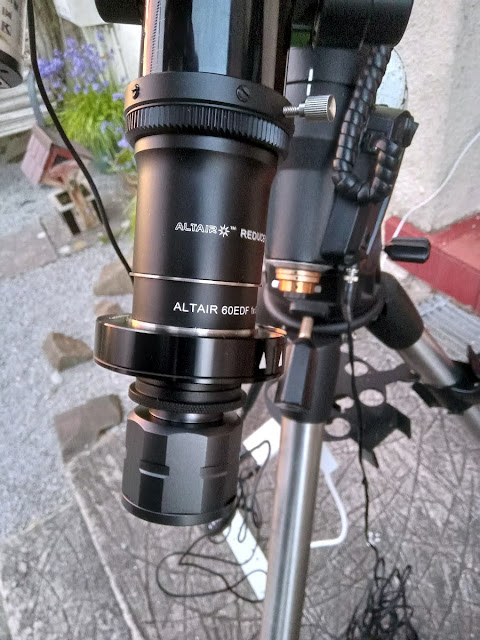
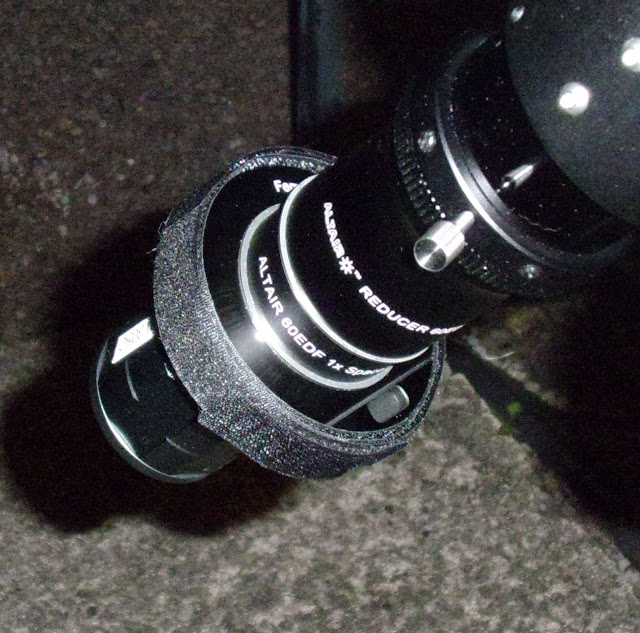
The SV305C comes with a 1.25” C adapter so a C to T2 adapter was used to connect the camera to the optical train of an Altair Starwave 60 ED Imaging refractor fitted with a 0.8 flattener reducer and an Altair magnetic filter holder.
Auto-guiding was done by PHD2 running on a separate Linux Computer using an SV165 guide-scope fitted with a QHY-5II-M guide camera.
The INDI server was running in an Oracle VirtualBox Linux virtual machine running in the imaging Windows computer as described in a previous article.
SV305C with a C to T2 adapter

The SV305C camera mounted at the focus of the Altair Starwave 60 ED scope
A UV/IR cut filter was placed in the magnetic filter holder.
The SV305C capturing Flats using an LED diffuser variable brightness tracing panel
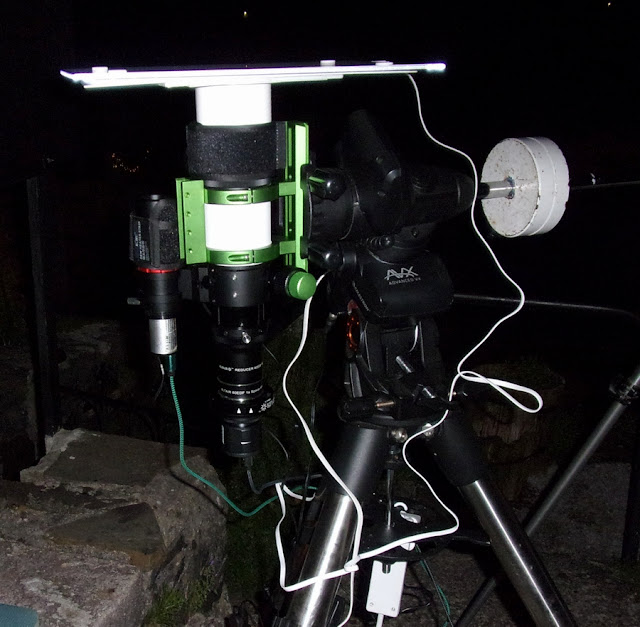
It is important to capture flat fields so that variations in sensitivity of the sensor usually caused by dust particles can be corrected for.
AstroDMx Capture for Windows was used to send the mount/scope to Arcturus, plate solve, centre the star and fine focus using a Bahtinov mask. The scope was then sent to M3, plate solved and the object was centred in the field of view.
AstroDMx Capture was then used to capture 115 x 10s
FITS exposures of M3 with matching dark frames.
The data were calibrated, registered, stacked and partly processed in Siril. The resulting image was post processed in the Gimp 2.10 and Neat image.
AstroDMx Capture was then used to send the mount/scope to M13, plate solve and centre the object in the field of view.
AstroDMx Capture was then used to capture 200 x 10s
FITS exposures of M13 with matching dark frames.

The preview set to 100% to see the globular cluster more clearly

Negative preview

The data were calibrated, registered, stacked and partly processed in Siril. The resulting image was post processed in the Gimp 2.10 and Neat image.
AstroDMx Capture was used to send the mount/scope to the globular cluster M10, plate solve and centre the object in the field of view.
AstroDMx Capture was then used to capture 30 x 60s
FITS exposures of M10 with matching dark frames.

The preview set to 100% to see the globular cluster more clearly

Negative preview

The data were calibrated, registered, stacked and partly processed in Siril. The resulting image was post processed in the Gimp 2.10 and Neat image.
We have some local problems of light trespass even though the Skies are Bortle 4.
The problem of a very close street light is solved using an occultation board with a lights out canopy skirt preventing light coming in under the board.
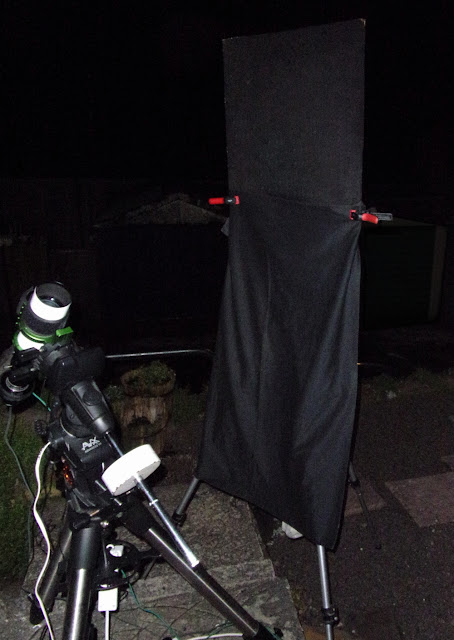
Showing the light from which the imaging is protected
We use a very successful Altair 2” magnetic filter holder however, if bright light shines on the filter holder, there is some light leakage which could be serious. The occultation board and skirt protect the filter holder from light ingress but in addition, wrapping black Velcro around the outside of the holder gives even more protection.
The imaging computer was changed for a Fedora Linux machine and the INDI server was running on a Raspberry Pi computer.
Just before the clouds came in the scope/mount was sent to the Whale NGC4631 and Hokeystick NGC4656 galaxies and the field of view was nudged to give a pleasing composition.
A 2 minute exposure was captured before the clouds came in. This would be used as a reference image of the field of view for future use.
The single reference image of the Whale and Hokeystick galaxies.
The following night AstroDMx Capture plate solved the reference image using the Online Astrometry.net plate solver and AstroDMx Capture then sent the scope/mount to the coordinates of the reference image.
AstroDMx Capture capturing FITS images of the Whale and Hokeystick galaxies

With a negative preview

AstroDMx Capture captured 45 x 2 minute FITS exposures which were calibrated, registered, stacked and partly processed in Siril. The resulting image was post processed in the Gimp 2.10 and Neat image. Star removal and replacement techniques were used with the Starnet++ plugin for the Gimp so that the galaxies and background could be processed separately from the stars.
The UV/IR cut filter was removed from the Altair magnetic filter holder and was replaced by an Altair Quadband OSC narrowband filter.AstroDMx Capture sent the scope/mount to the star HD168137, which is close to the ‘Pillars of Creation’ in the Eagle nebula, plate solve and centre the star.
AstroDMx Capture capturing FITS data of the Eagle nebula

With a negative preview

AstroDMx Capture captured 22 x 2 minute FITS exposures which were calibrated, registered, stacked and partly processed in Siril. The resulting image was post processed in the Gimp 2.10 and Neat image. Star removal and replacement techniques were used with the Starnet++ plugin for the Gimp so that the nebula and background could be processed separately from the stars.
Lunar imaging with the Altair Starwave 60 ED Imaging refractor fitted with a 0.8 flattener reducer and an Altair magnetic filter holder.
AstroDMx Capture was used to capture a 3000-frame SER file of the 17.2% waxing crescent Moon using a region of interest (ROI) .
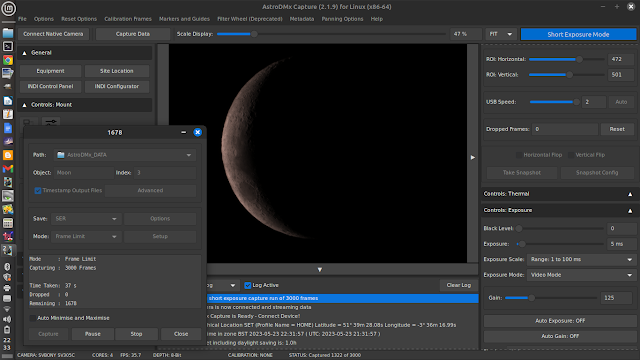
The best 50% of the frames were stacked in Autostakkert! , wavelet processed in waveSharp and post processed in the Gimp 2.10
The SV305C acquitted itself well in these tests as a lunar imager and a deep sky imager, having imaged the Moon, globular clusters, galaxies and a nebula.
The online plate solver worked well in AstroDMx Capture as did the use of a reference image to solve and return to the same place to resume imaging.
_______________________________________________________________________


