


 0
0
0
0
Petr Vichr
In my previous story, I wrote about one of my summer astrophotography nights and my imaging of the Elephant’s Trunk Nebula.
At the same time, I was also slowly working on another, much larger project from my garden at home.
This is that project.
And, as is becoming something of a tradition in my astrophotography, it came with another useful lesson along the way.
This time there was no trip to a dark-sky location. Every single exposure for this image was captured from my own garden at home.
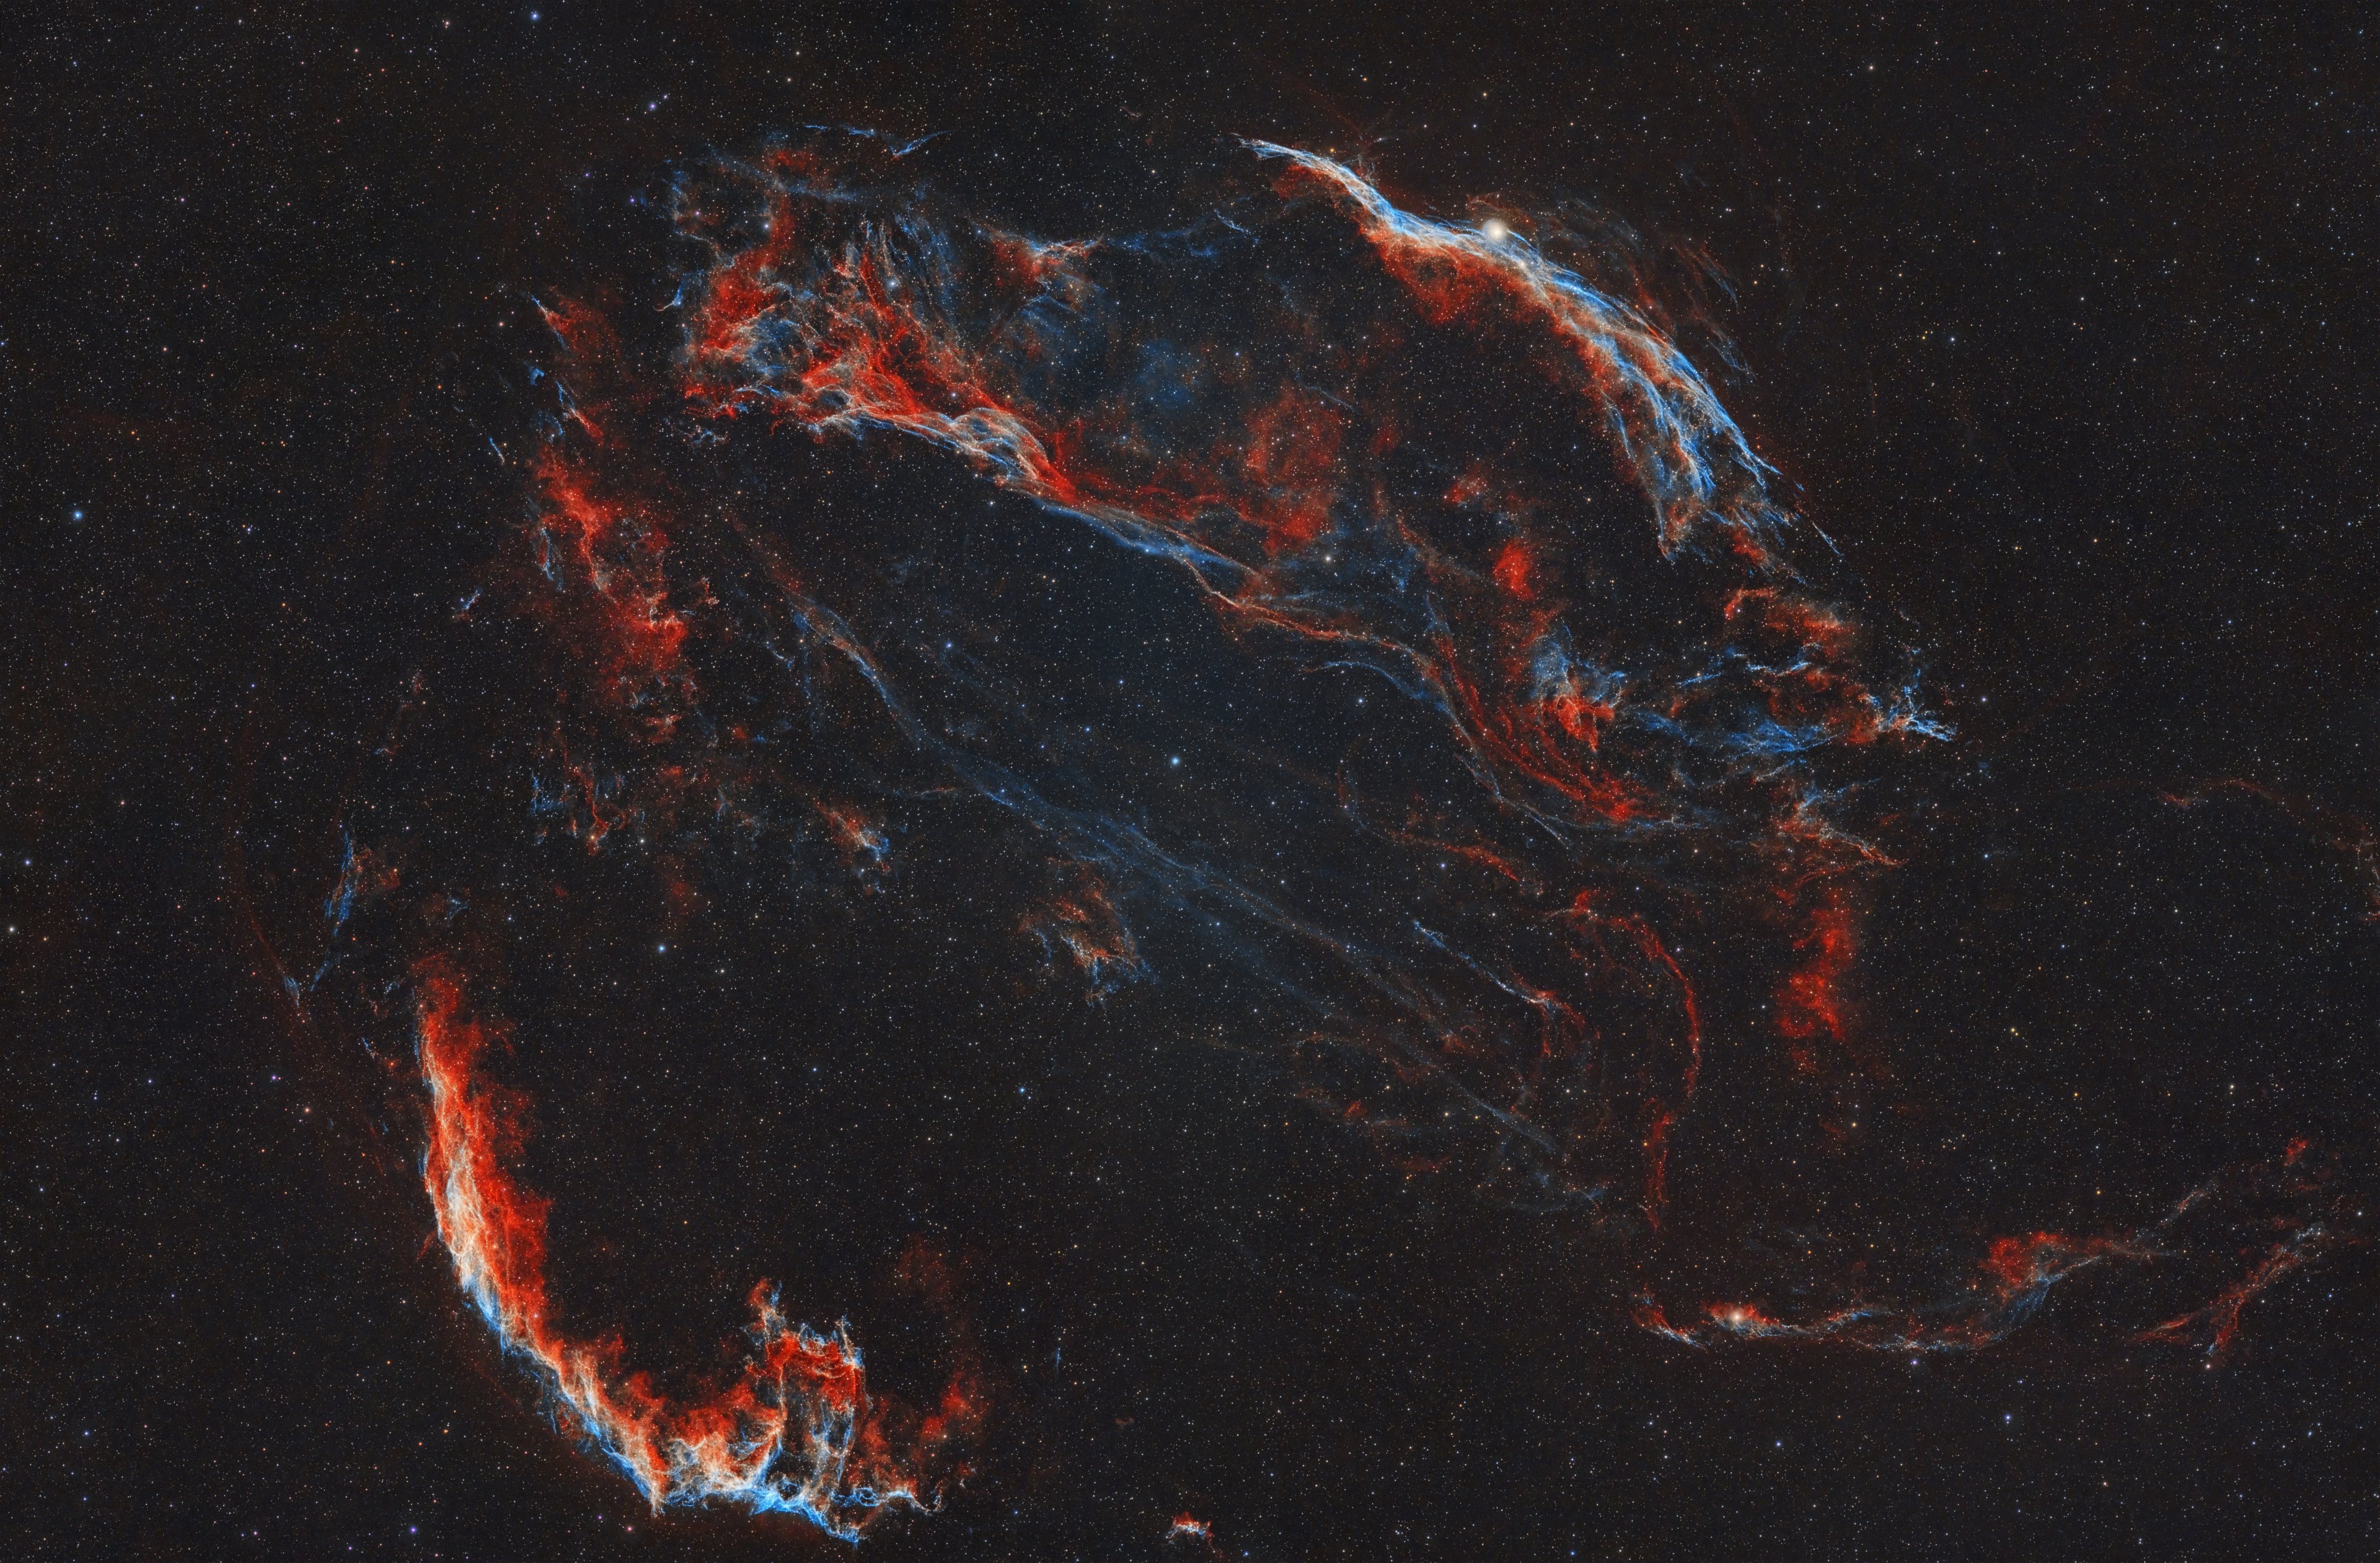
The target was the Veil Nebula – the huge supernova remnant in Cygnus. I wanted to capture much more than just one of its famous bright sections, so I decided to try something I had never attempted on this scale before: a four-panel mosaic covering a large part of the Cygnus Loop.
For each of the four panels I collected:
That means 23 hours 20 minutes of narrowband data, plus another 1 hour of broadband exposures, for a total integration time of approximately 24 hours 20 minutes.
My imaging setup was:
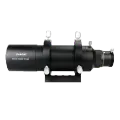
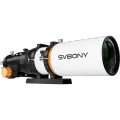
SVBONY SV503 70ED
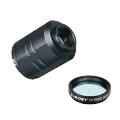
SVBONY SV405CC
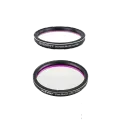
SVBONY SV220 Ha/OIII 7 nm
SVBONY SV231 Color Correction Filter
SVBONY 60 mm guide scope
SVBONY SV305M guide camera
Gemini EAF electronic focuser
Juwei-17 mount
Collecting more than 24 hours of usable data from a home garden sounds simple when written in one sentence. In reality, it meant returning to the same target over several clear nights, keeping the panels consistent and slowly building the mosaic piece by piece.
And that is where I made my biggest mistake.
I had planned the four panels and their overlaps, but between imaging sessions I failed to keep the camera rotation exactly consistent.
Each individual panel was fine.
The problem only became obvious when I finally started assembling the mosaic.
Because the camera angle had changed, the four panels did not overlap in exactly the way I had originally intended. The mosaic could still be completed, but I had to crop much more aggressively than planned. I lost some of the surrounding field and, with it, part of the composition I originally had in mind.
After spending more than twenty hours collecting data, discovering that the framing itself could have been better was painful.
But this is also probably the most valuable lesson I will take from my first serious mosaic project:
when repeating mosaic panels on different nights, matching the coordinates is not enough. Camera rotation is just as important.
Next time, the camera angle will definitely be part of my checklist.
There was another experiment in this project that turned out much better.
Until now, I had struggled with the appearance of stars in some of my narrowband images. A dual-band filter is fantastic for isolating emission from the nebula, especially from a light-polluted location, but the stars naturally do not retain the same colour information that they would in broadband imaging.
For this project I decided to treat the two parts of the image separately.
The nebula came from the long SV220 Ha/OIII exposures and was processed as an HOO image.
The stars, however, came from a completely separate set of short broadband exposures taken through the SV231 Color Correction Filter.
After colour calibration, I removed the narrowband stars from the nebula, processed the starless HOO mosaic independently, and then created a separate broadband star layer. Only at the end did I recombine the two.
This was my first really successful attempt at combining a narrowband nebula with broadband stars, and I am extremely happy with the result.
The narrowband data gives me the contrast and structure in the red Hα and blue-green OIII filaments that I wanted, while the broadband data brings back much more natural stellar colours.
For me, this was probably the biggest processing breakthrough of the whole project.
Of course, I can still see the mistakes.
I know how I originally wanted the mosaic to be framed, and I know exactly which parts of the field were lost because I failed to reproduce the camera rotation correctly.
But somehow that does not bother me as much as I expected.
This was my first large mosaic. It forced me to think about acquisition differently, taught me much more about planning and framing, and pushed me to develop a new workflow for combining narrowband and broadband data.
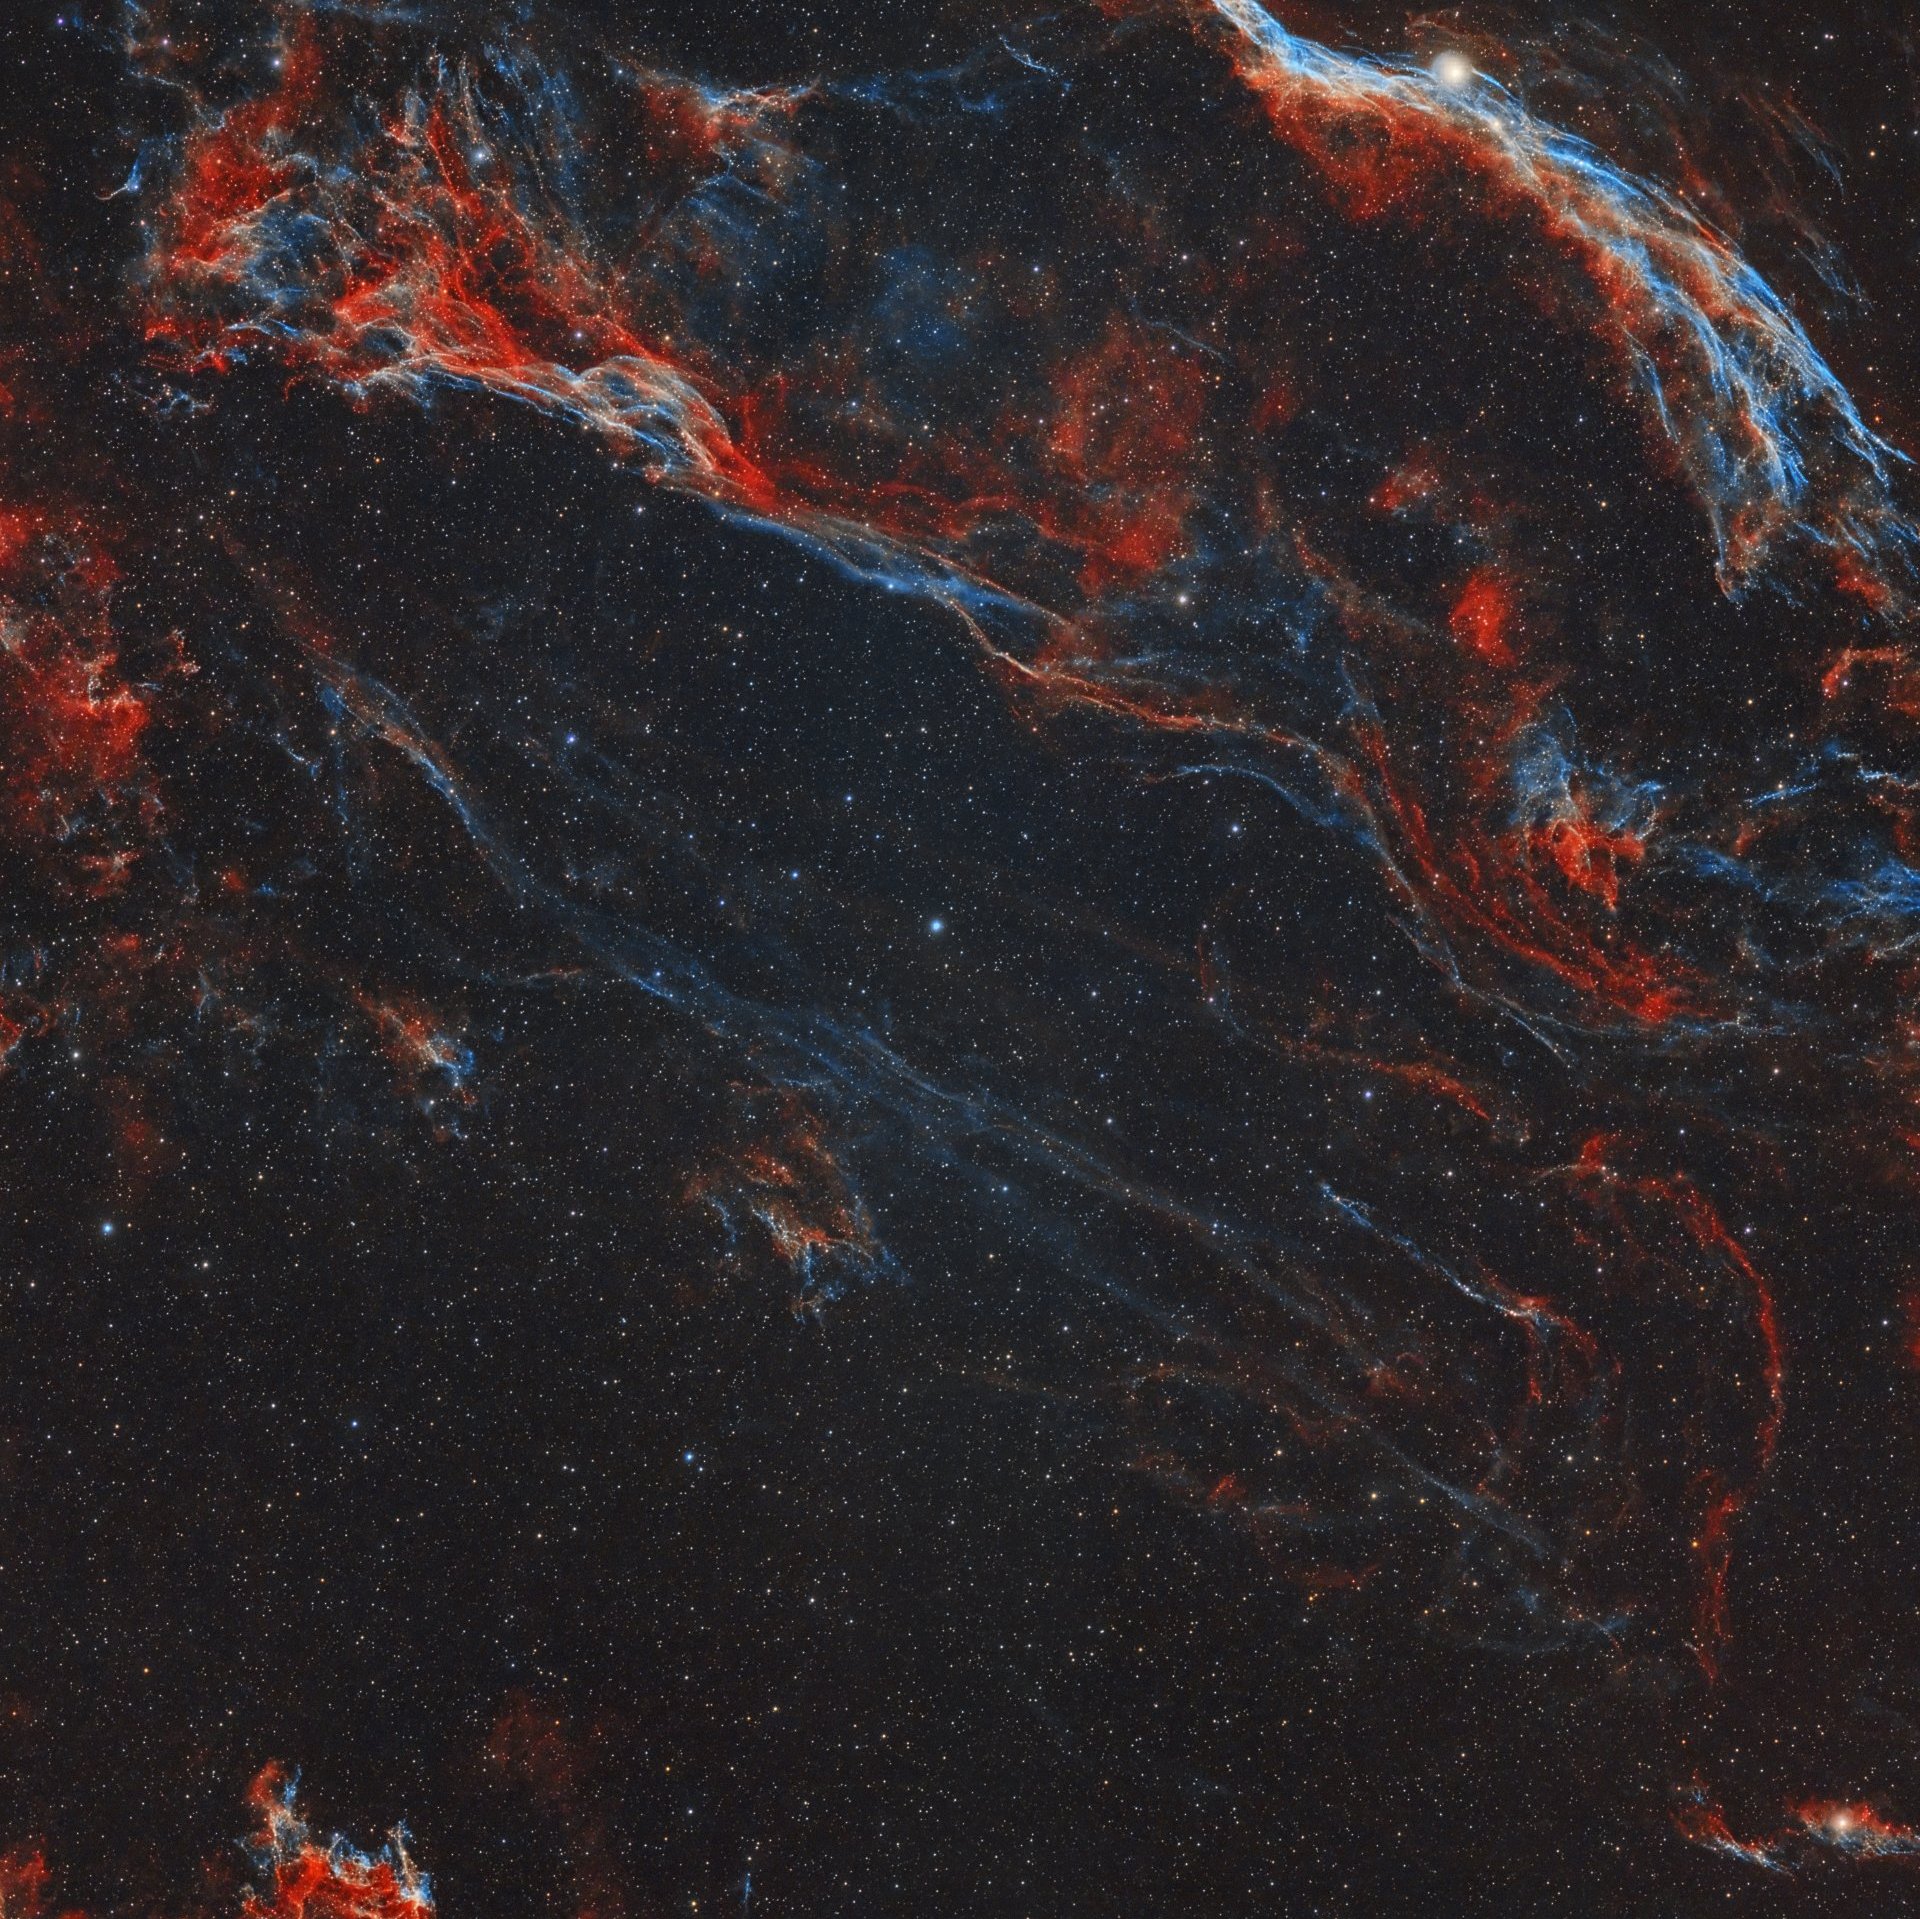
I am also attaching my image of the Veil Nebula from last year, taken with the SVBONY SV555 and ASI585, because the comparison means a lot to me. It is a nice reminder that progress in astrophotography is not only about buying different equipment. A huge part of it comes from learning how to acquire better data, recognising your own mistakes and improving the way you process what you already have.
I only wish I had finished this project a little earlier. The Veil Nebula was the target of the July imaging competition, but there simply were not enough clear nights for me to collect all the data I wanted before the deadline.
Still, I am glad I did not rush it just to finish in time.
More than 24 hours of data, four panels, two different filters, several clear nights in my own garden, one framing mistake and a completely new way of processing the stars.
Not bad for a first mosaic.
And next time, I will check that camera rotation.
 Google
 Amazon
No data Yet