Table of Contents
SV555 Astrograph Overview & FAQ
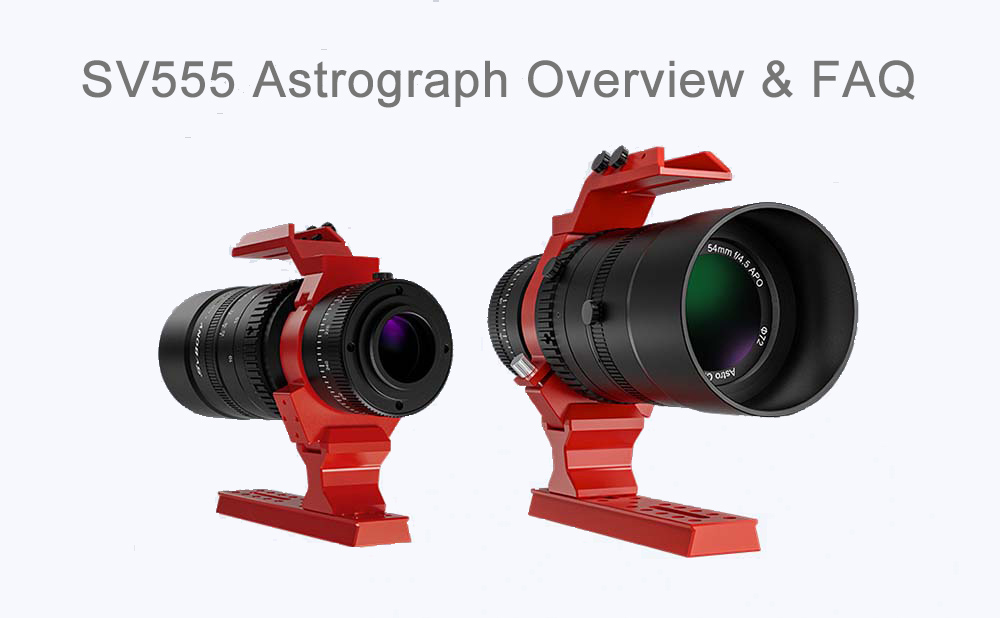
SV555 Astrograph is a astrophotography telescope specially designed for deep sky objects, offering numerous unique advantages for astrophotography.
Core Positioning and Key Selling Points
- For one, it is built for wide-field astrophotography.
- It's super easy to use, and it does have APO corrected optics.
- The biggest selling point is the fact that out of all the other Petzval astrographs in its class, the SV555 is the cheapest option. The value to price ratio really stood out.
Who It's For
243 mm of focal length with an aperture of 54 mm, this puts this astrograph squarely and firmly in that wide field astrophotography territory. And I think that's going to be great for a lot of different types of users.
Beginners
If you're a beginner, well, that wide of image scale is going to be pretty forgiving of tracking errors that you may have.
Intermediate/Advanced Users
While at the same time, if you're more of an intermediate to advanced user, maybe using something that's heavier or maybe something with a longer focal length,this is going to kind of round out the arsenal that you have by giving you something that's a little bit more portable and a little bit wider.
Lens Upgrade Users
But if you're someone who's been using camera lenses for a while - perhaps in the 50 to 135 millimeter range - this seems like the natural next step.
You get a slightly deeper field of view while maintaining wide-angle characteristics. This time, however, you're getting optics specifically corrected for astrophotography. Most camera lenses are designed for daytime photography, so they aren't necessarily optimized to deliver pinpoint stars across the entire field of view, nor do they provide the level of color correction needed for high-contrast subjects like stars.
And so, to achieve this level of correction, optical design is crucial. The SV555 is what's called an apochromatic refractor, or APO for short. This essentially means it can focus different wavelengths of light onto the same point, eliminating color fringing around high-contrast areas like stars. Chromatic aberration, in other words, is basically a non-issue.
The SV555 also features a Petzval design, incorporating two additional glass elements that flatten the entire field of view. This delivers pinpoint round stars all the way to the edges - a significant advantage since you won't need a separate field flattener like you would with more traditional doublet or triplet refractors. You also don't need to worry as much about achieving precise back focus to get everything sharp.
Everything you need to get started is essentially included here. Once set up, it's very easy to use. If you have any experience with prime telephoto lenses, as I mentioned earlier, the handling will feel oddly familiar. It offers very smooth focusing and comes with a variable aperture ranging from f/4.5 all the way down to f/22.

What's In the Box?

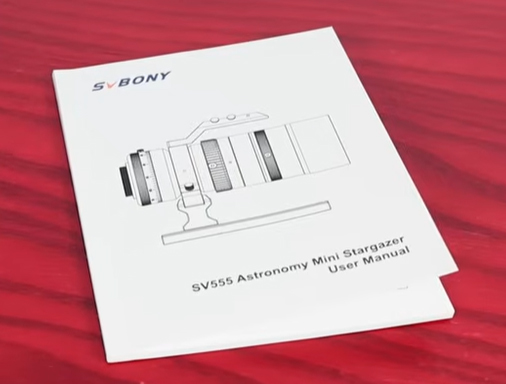
We have a little bag with a manual in it.
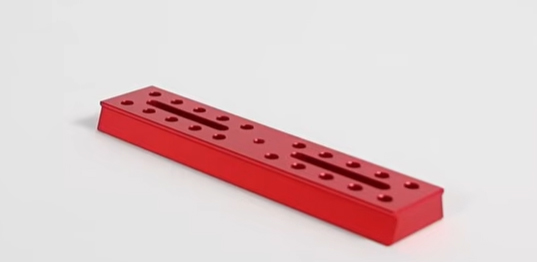
We have a multi-functional handlebar.

We also have a dovetail saddle.
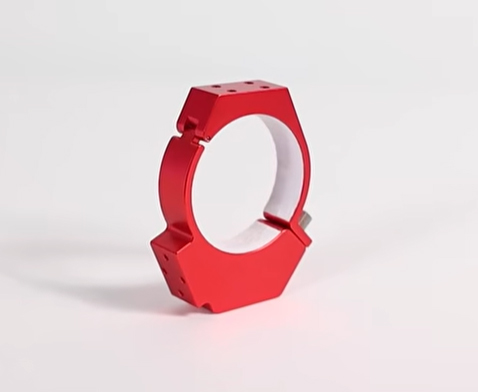
And then we have a EAF bracket, which I'll talk about in a little bit. Then we have a clam shell ring.
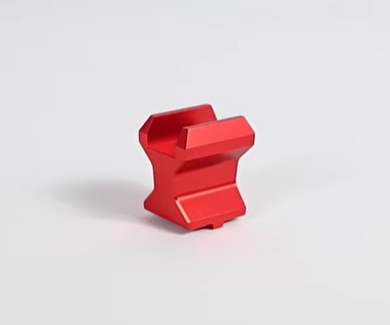
Then we also have a riser block.
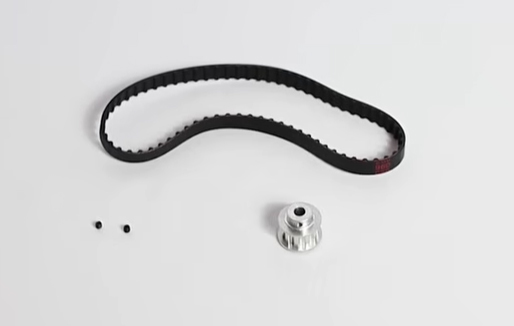
And we have an EAF kit or the rest of the EAF kit with a timing pulley and a timing belt and some little screws.
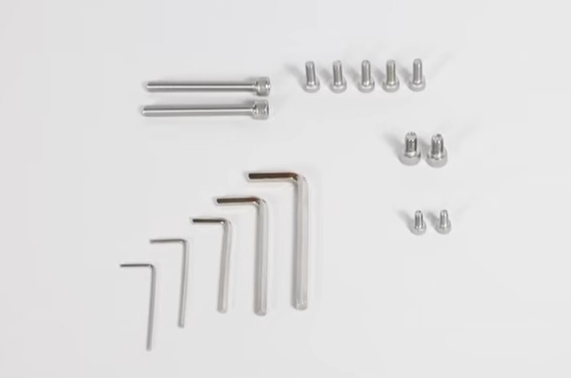
And then we have an assortment of Allen keys and very long and very short hex screws.
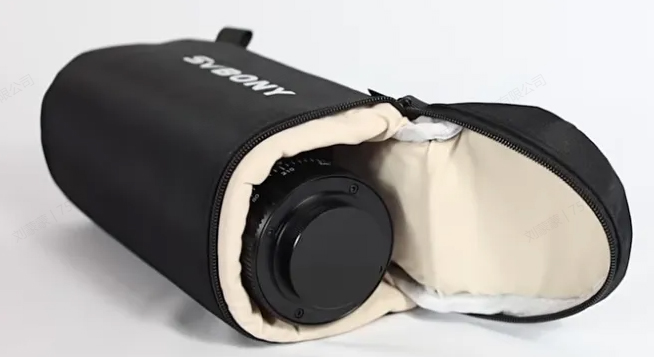
 We also have a travel bag. Really well made. There are two little zippers. And on the inside, it's like very soft.
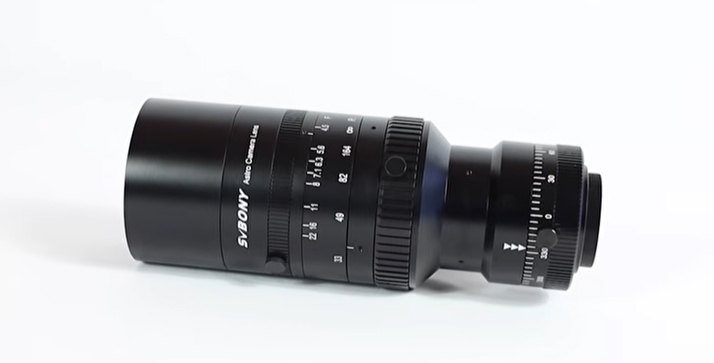
So here is the camera lens in all of its glory.
 Optical Structure
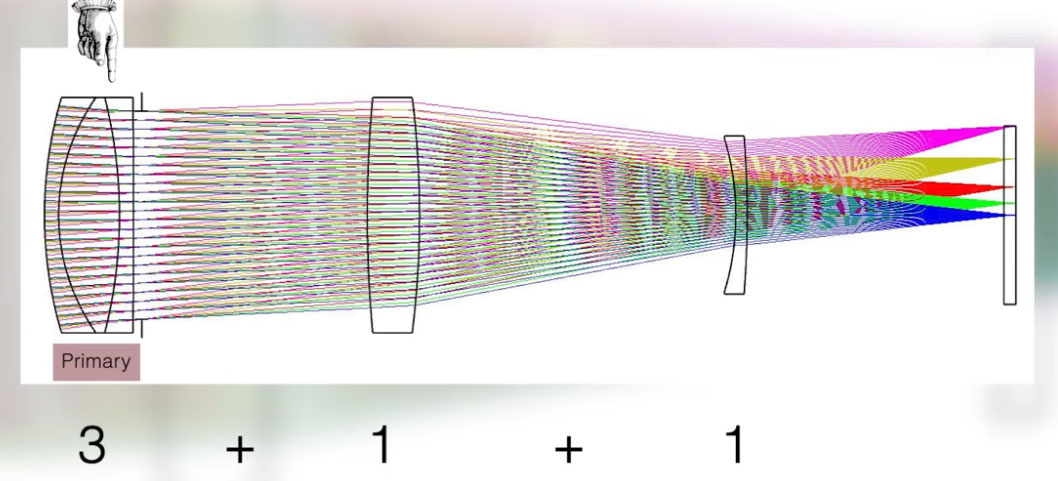
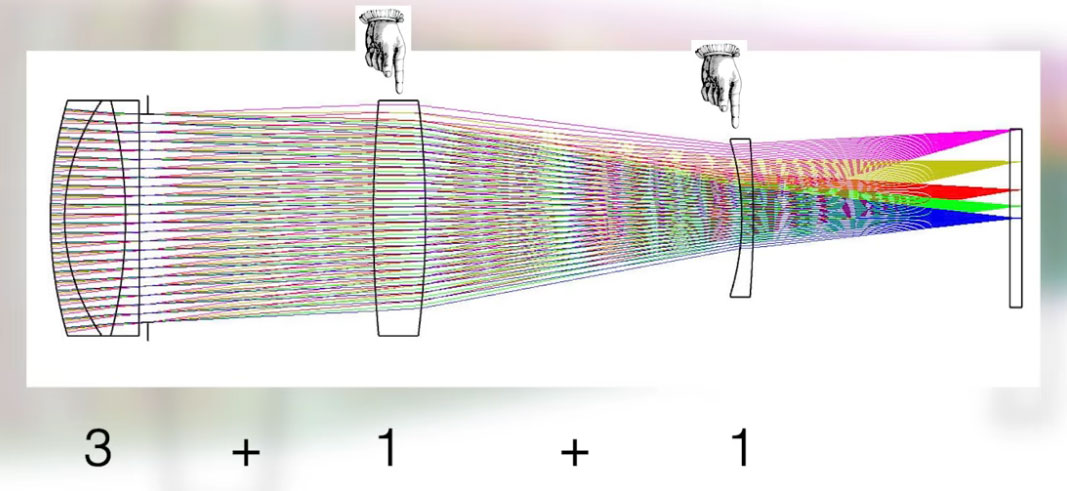
The optical assembly is a quintuplet, meaning it contains five glass elements. The primary objective section at the front houses three of these elements. Within this group, two are made of Extra-low Dispersion (ED) glass. This material provides an enhanced level of color correction, effectively eliminating chromatic aberration, or keeping it to an absolute minimum. This is crucial for preventing color fringing around stars or other high-contrast subjects, a common issue with many lower-end telescopes or standard camera lenses.
Chromatic aberration seen with a less-corrected lens

Now, moving to the back section, as I mentioned earlier, there are two additional glass elements. Their primary function is to flatten the field of view, ensuring you get round, pinpoint stars all the way to the edges. This is a common issue with many camera lenses not corrected for astrophotography, where stars often appear distorted or misshapen towards the corner of the frame.
The key advantage of this built-in field flattener, inherent to the Petzval design, is that you don't need to purchase a separate one - which not only saves you extra cost but also eliminates the complexity of installation. Standalone flatteners can be very particular about back-focus distance to achieve sharp focus across the entire sensor. Here, all that is integrated and optimized for you, which makes the system incredibly convenient to use.
Features & Specs
So, starting with the overall aesthetic of the SV555, it does have this sheen matte look going on.
Appearance
This represents a slight change from the original model, which used a 320-grit sandblasting process. The new version uses a 280 grit, resulting in a more matte finish. So, if your fingertips tend to be more oily, this would be the version for you.
In terms of overall build and mechanics, the lens is constructed entirely from aluminum, minus the lens cap. This all-aluminum construction gives it a very robust feel. It remains lightweight and portable, yet it has a certain substantial heft to it. The optical tube by itself weighs about 4 pounds (just under 2 kg), and with all the accessories you see here, the total comes to roughly 5 pounds.
 Lens hood
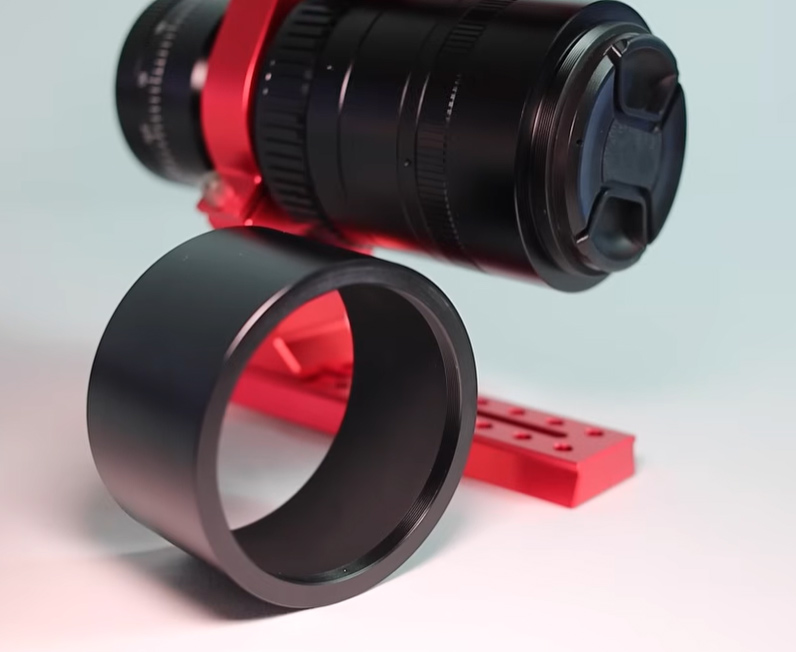
Now, let's talk more about the lens hood. It's excellent for protecting the optics from stray light and also adds to the overall structural integrity.
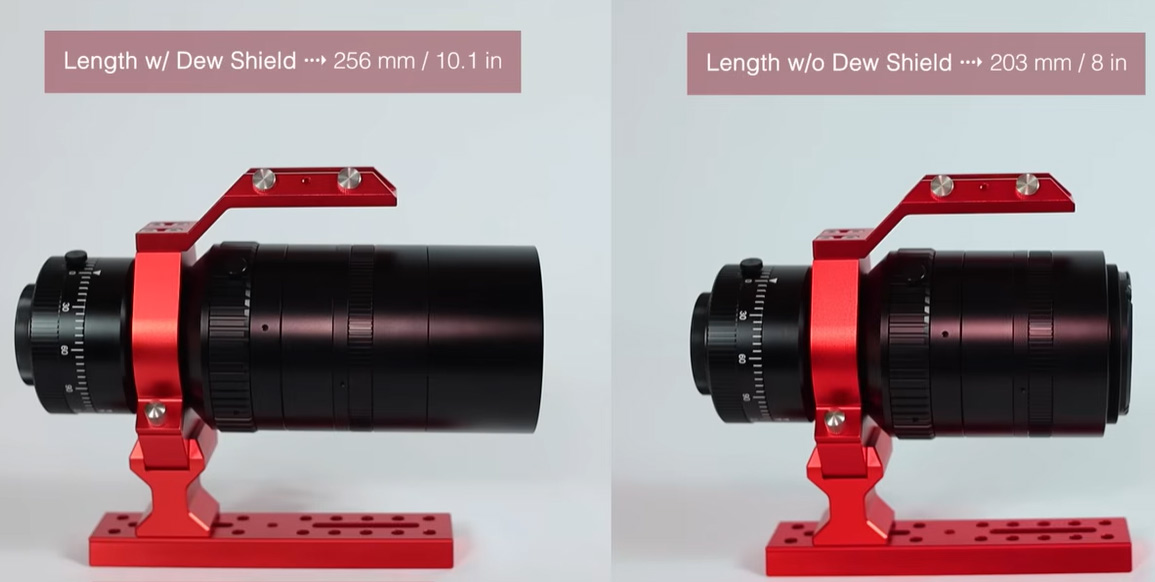
The diameter of the lens hood has been slightly reduced from 97 mm to 93 mm. With this 93 mm diameter, the circumference is about 292 mm. If you live in a humid environment, you might want to consider a dew heater to wrap around the hood and prevent condensation from forming on the optics.
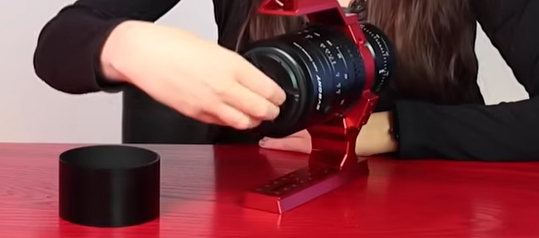
The lens hood is removable. It unscreves smoothly. You'll find threads both on the inside at the back and on the front here, allowing it to attach securely. Removing the hood also enhances portability. If you prefer not to use the included bag and want to pack it with your other camera lenses while traveling, this makes it much more convenient.
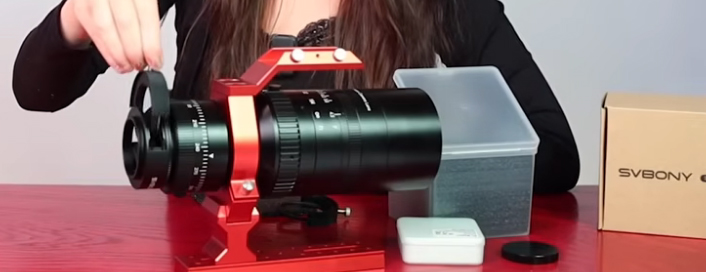
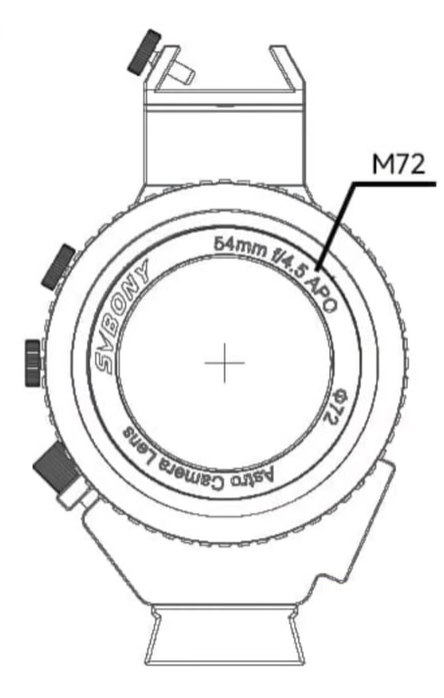
 Up front, we have a lens cap that uses a pinch-and-twist mechanism for a secure attachment. Simply twist it off, and you'll notice threads on the inside.What's cool about these internal threads is that you can add a 72mm front filter. This is perfect if you're into terrestrial photography or want to get creative with astro work in a way that doesn't require a backend filter. I'll discuss other compatible filter types later on.
Imaging Circle
The SV555 does have a pretty large imaging circle of 44 millimeters, which fully supports full-frame sensors. One of the things that really makes the SV55 stand out compared to a lot of the traditional telescopes out there, is the fact that it has a variable aperture, which is much more similar to a traditional camera lens.
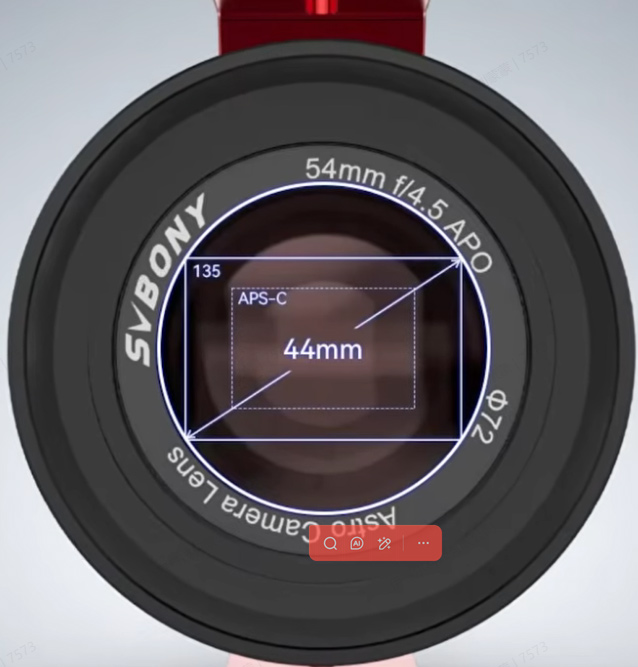
It offers a range from f/4.5 at its widest to f/22 at its smallest. But down on the lens tube, you will find this aperture scale from f/4.5 through f/22 along with a grooved control ring and a locking knob to hold your setting in place. The ring has a smooth feel with enough grip to adjust pretty easily.
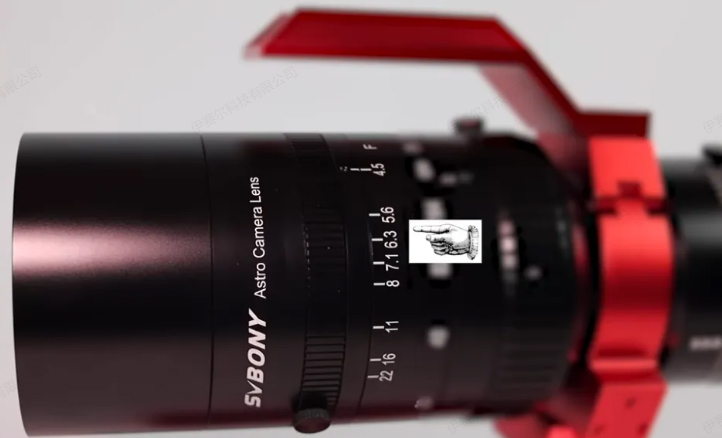
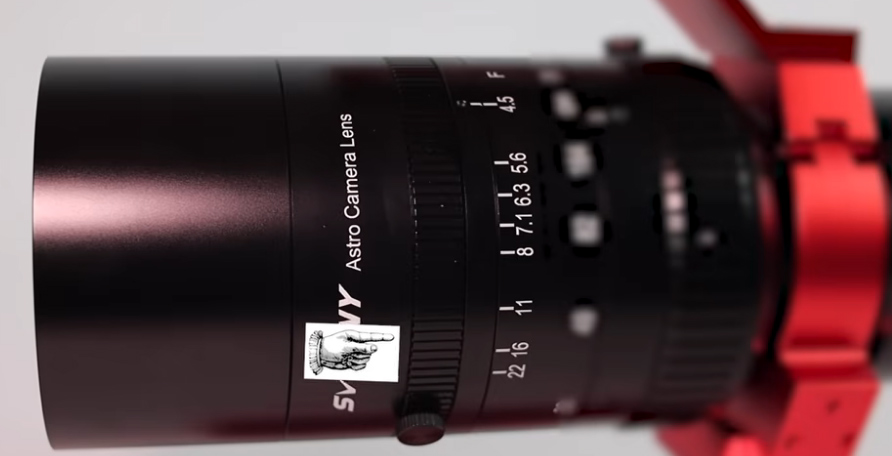 For capturing deep-sky objects like star clusters, nebulae, or galaxies, you'll typically want to use the widest f/4.5 aperture to gather the maximum amount of light.Stopping down will give you some more creative opportunities. For example, if you want to photograph the moon, you can do so with this scope by stopping down to around f/5.6 or f/11, depending on whether you're using a equatorial mount. This helps prevent overexposing the moon's bright surface.
Additionally, if you're using a camera with a smaller sensor (like a 533 or 585 model), you'll get a more zoomed-in field of view compared to APS-C or full-frame cameras. In any case, I do think that's really nice to be able to stop down for lunar photography.
Now, in terms of creative terrestrial photography, you could certainly stop this down and create some really cool defraction spikes on water if you wanted to.
Focuser
Now, let's talk about the focuser. The SV555 is equipped with a single-speed helical focuser. It does have graded traction marks, which makes it pretty easy to move. There's also a locking knob that you would unlock to move things around, and it is very smooth. And the locking knob is really nice because it does keep things in place.
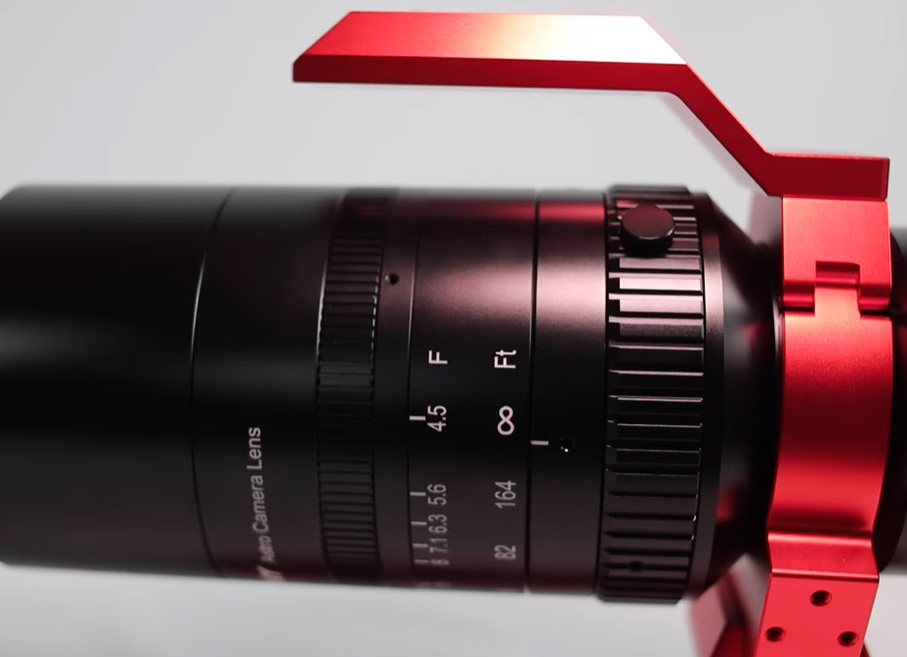
A key upgrade in this version is the increased focus travel, which has been extended from 2.6 mm in the original to 3.22 mm. This additional range directly addresses an issue that some users reported experiencing in the original version,which was the fact that they couldn't achieve focus with some types of cameras.
Now going back to the single speed focuser. If you're a beginner, you might find it easy to overshoot the exact focus point while trying to achieve pinpoint, round stars. For this reason, I would recommend using a bahtinov mask, which just creates defraction spikes on bright stars, which helps you when you are trying to focus to get perfectly round stars.
Clam Shell Ring
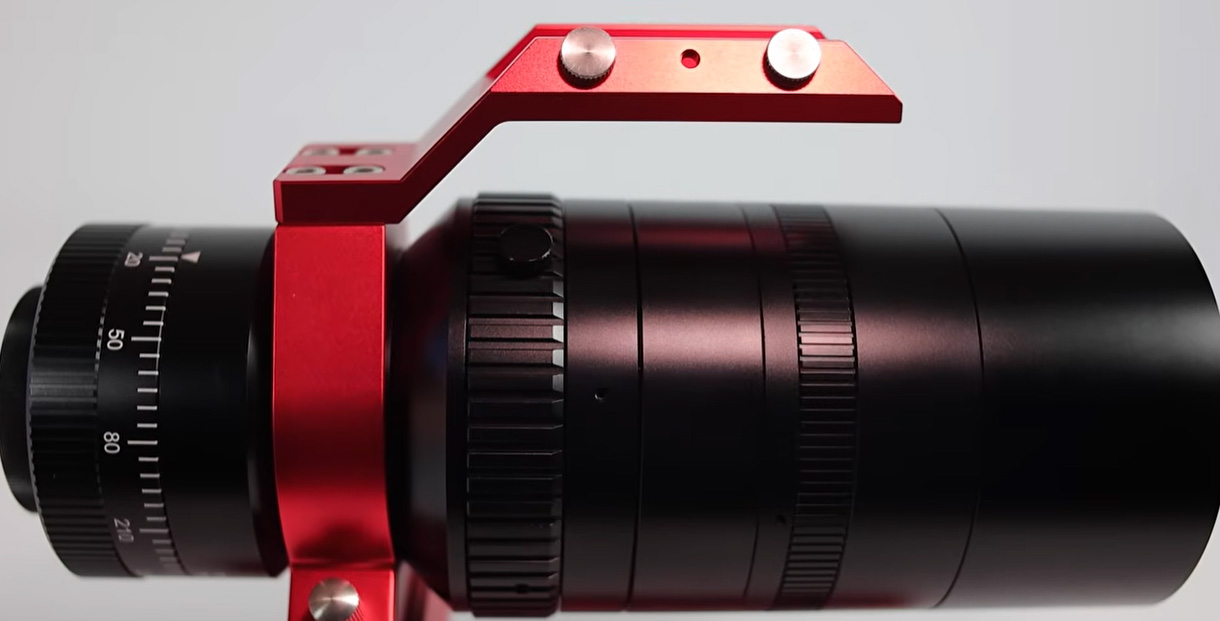
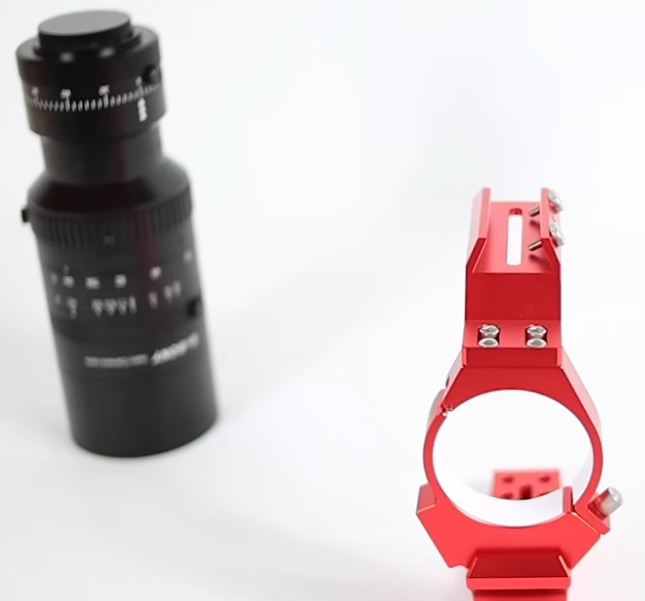
Let's talk more about the other types of accessories that SV555 comes with.Let's start with the clamshell ring. It comes with a locking knob, which is a convenient feature as you don't need any tools, like an Allen wrench, to open or close it. Additionally, the inside of the ring is lined with white felt, which helps protect the telescope's main body from scratches.
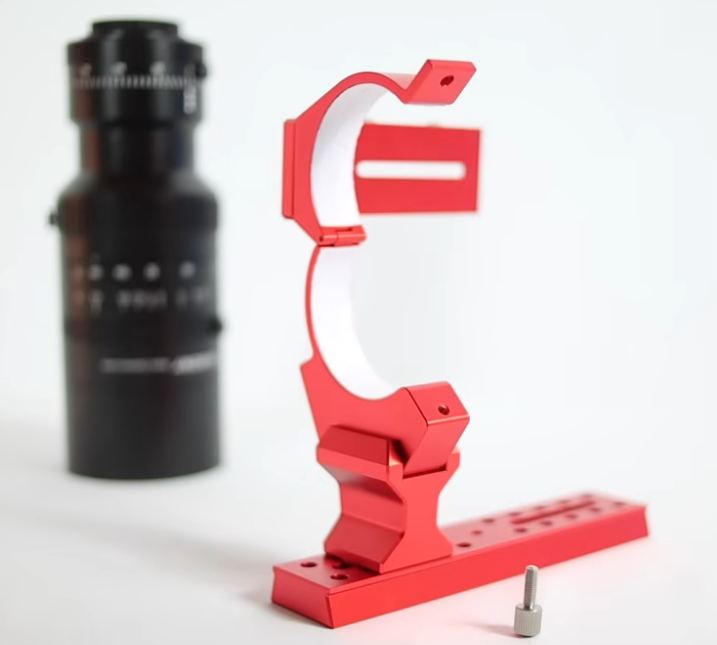
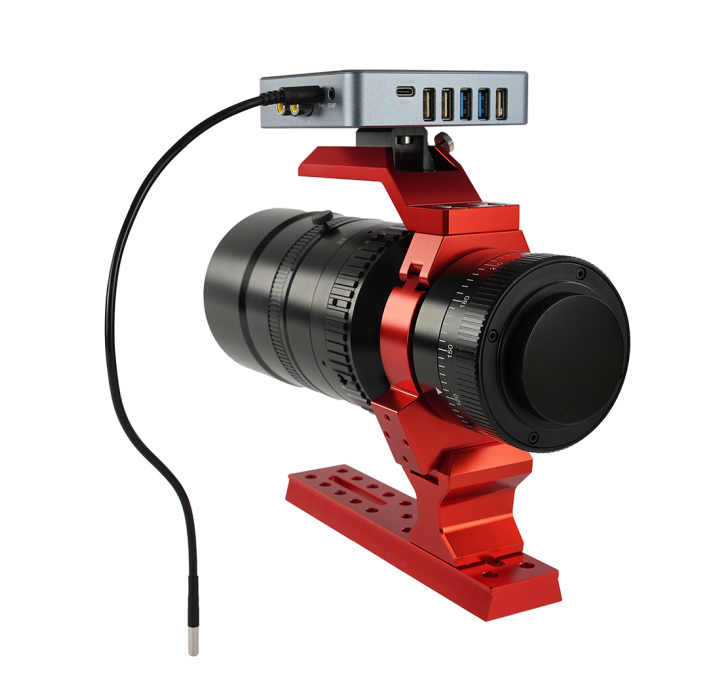
Now, let's look at the back. The top of the clam shell ring is equipped with four mounting holes. These allow you to attach a multi-functional handlebar, which is extremely useful for mounting accessories such as a mini PC, a guide scope, or a power box.
 Riser Block
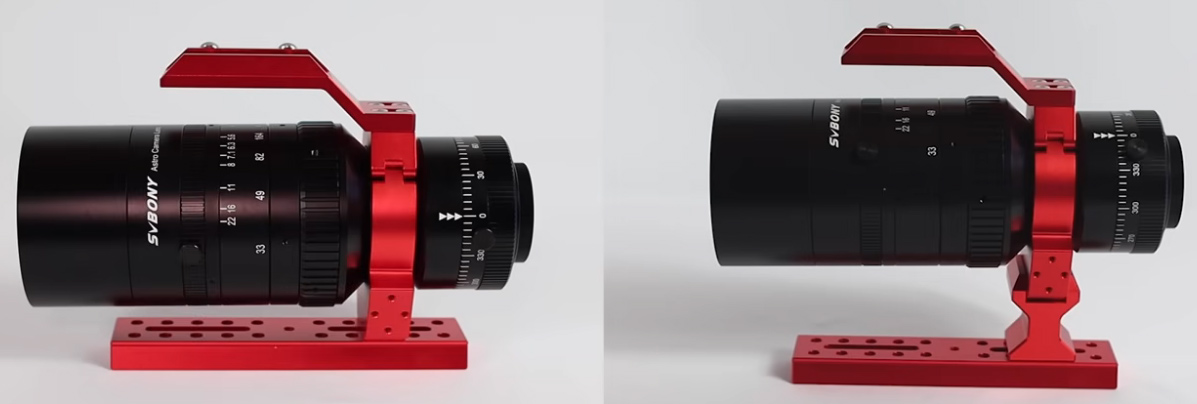
If you plan to use accessories like an EAF or an electronic filter wheel at the back of the lens, adding a riser block is highly recommended. It creates extra space between the dovetail plate and the lens itself. This additional clearance is particularly important when using a filter wheel, as it prevents potential collisions with your mount head during operation. Of course, if your priority is to save weight and such clearance isn't needed, you can always omit the riser altogether.
Dovetail Saddle
Now, let's talk about the dovetail saddle. It measures 185 mm in length and 15.5 mm in thickness, and it serves a dual purpose. You can use it as a Vixen-style dovetail plate, which is the standard for most equatorial mounts.
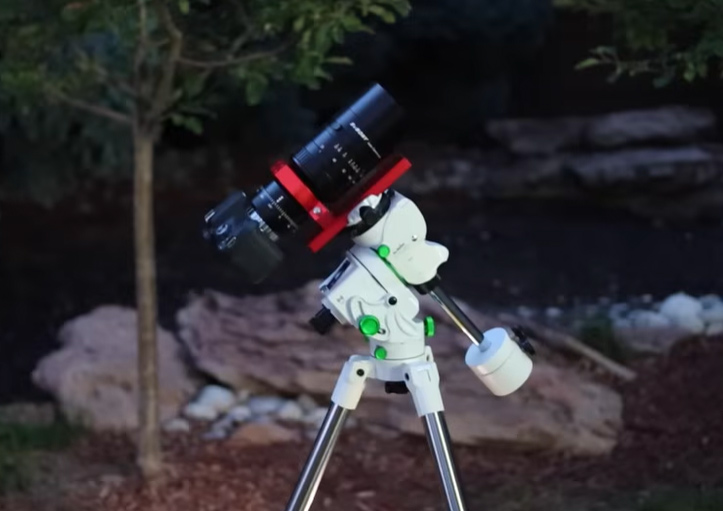
Alternatively, you can flip it over to use it as an Arca-Swiss plate, making it compatible with Arca-Swiss ball heads or any other clamp in that ecosystem.You just flip it one way or the other to get that side.
The saddle features multiple mounting holes, offering great flexibility. A central hole also allows you to mount the entire setup directly onto a tripod for quick terrestrial use.
CAA
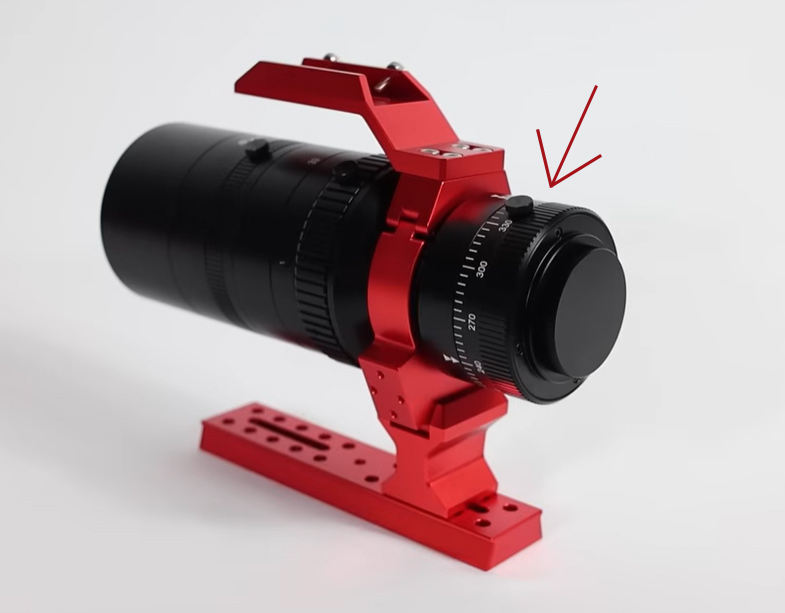
Now, let's move to the back, where you'll find the camera angle adjuster (CAA). This feature is excellent for creativity, as it allows you to rotate your camera a full 360 degrees to achieve the perfect composition.It's really nice from a creative perspective because you don't always want to just be locked into whatever your camera is as it threads on.
The adjuster has a locking knob, similar to the others on the lens, which is easy to loosen and tighten. The ring itself has engraved traction marks for a firm grip. It offers a smooth, controlled rotation with just the right amount of resistance for a pleasant user experience.
However, if you find that rotating the adjuster causes the entire telescope to move, it indicates that the clam shell ring is not fully secured. In that case, a more reliable solution is to replace the standard locking knob with an M5 knob, which will provide a stronger, more secure lock.
Camera Compatibility
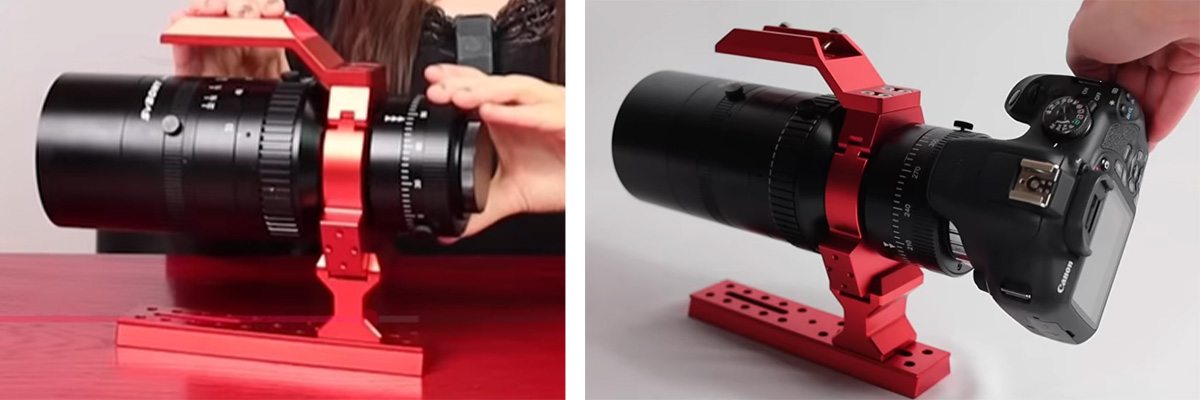
At the back of the telescope, you'll find universal M48 threads, which is the standard connection for most modern astrographs and telescopes designed for astrophotography. This is where you attach your camera adapter.
For DSLR or mirrorless cameras, you will need a T-ring specific to your camera's lens mount (e.g., Canon EF, Nikon F, Sony E). To attach it, simply align the red dot on the T-ring with the corresponding mark on your camera body and twist until it clicks securely into place.
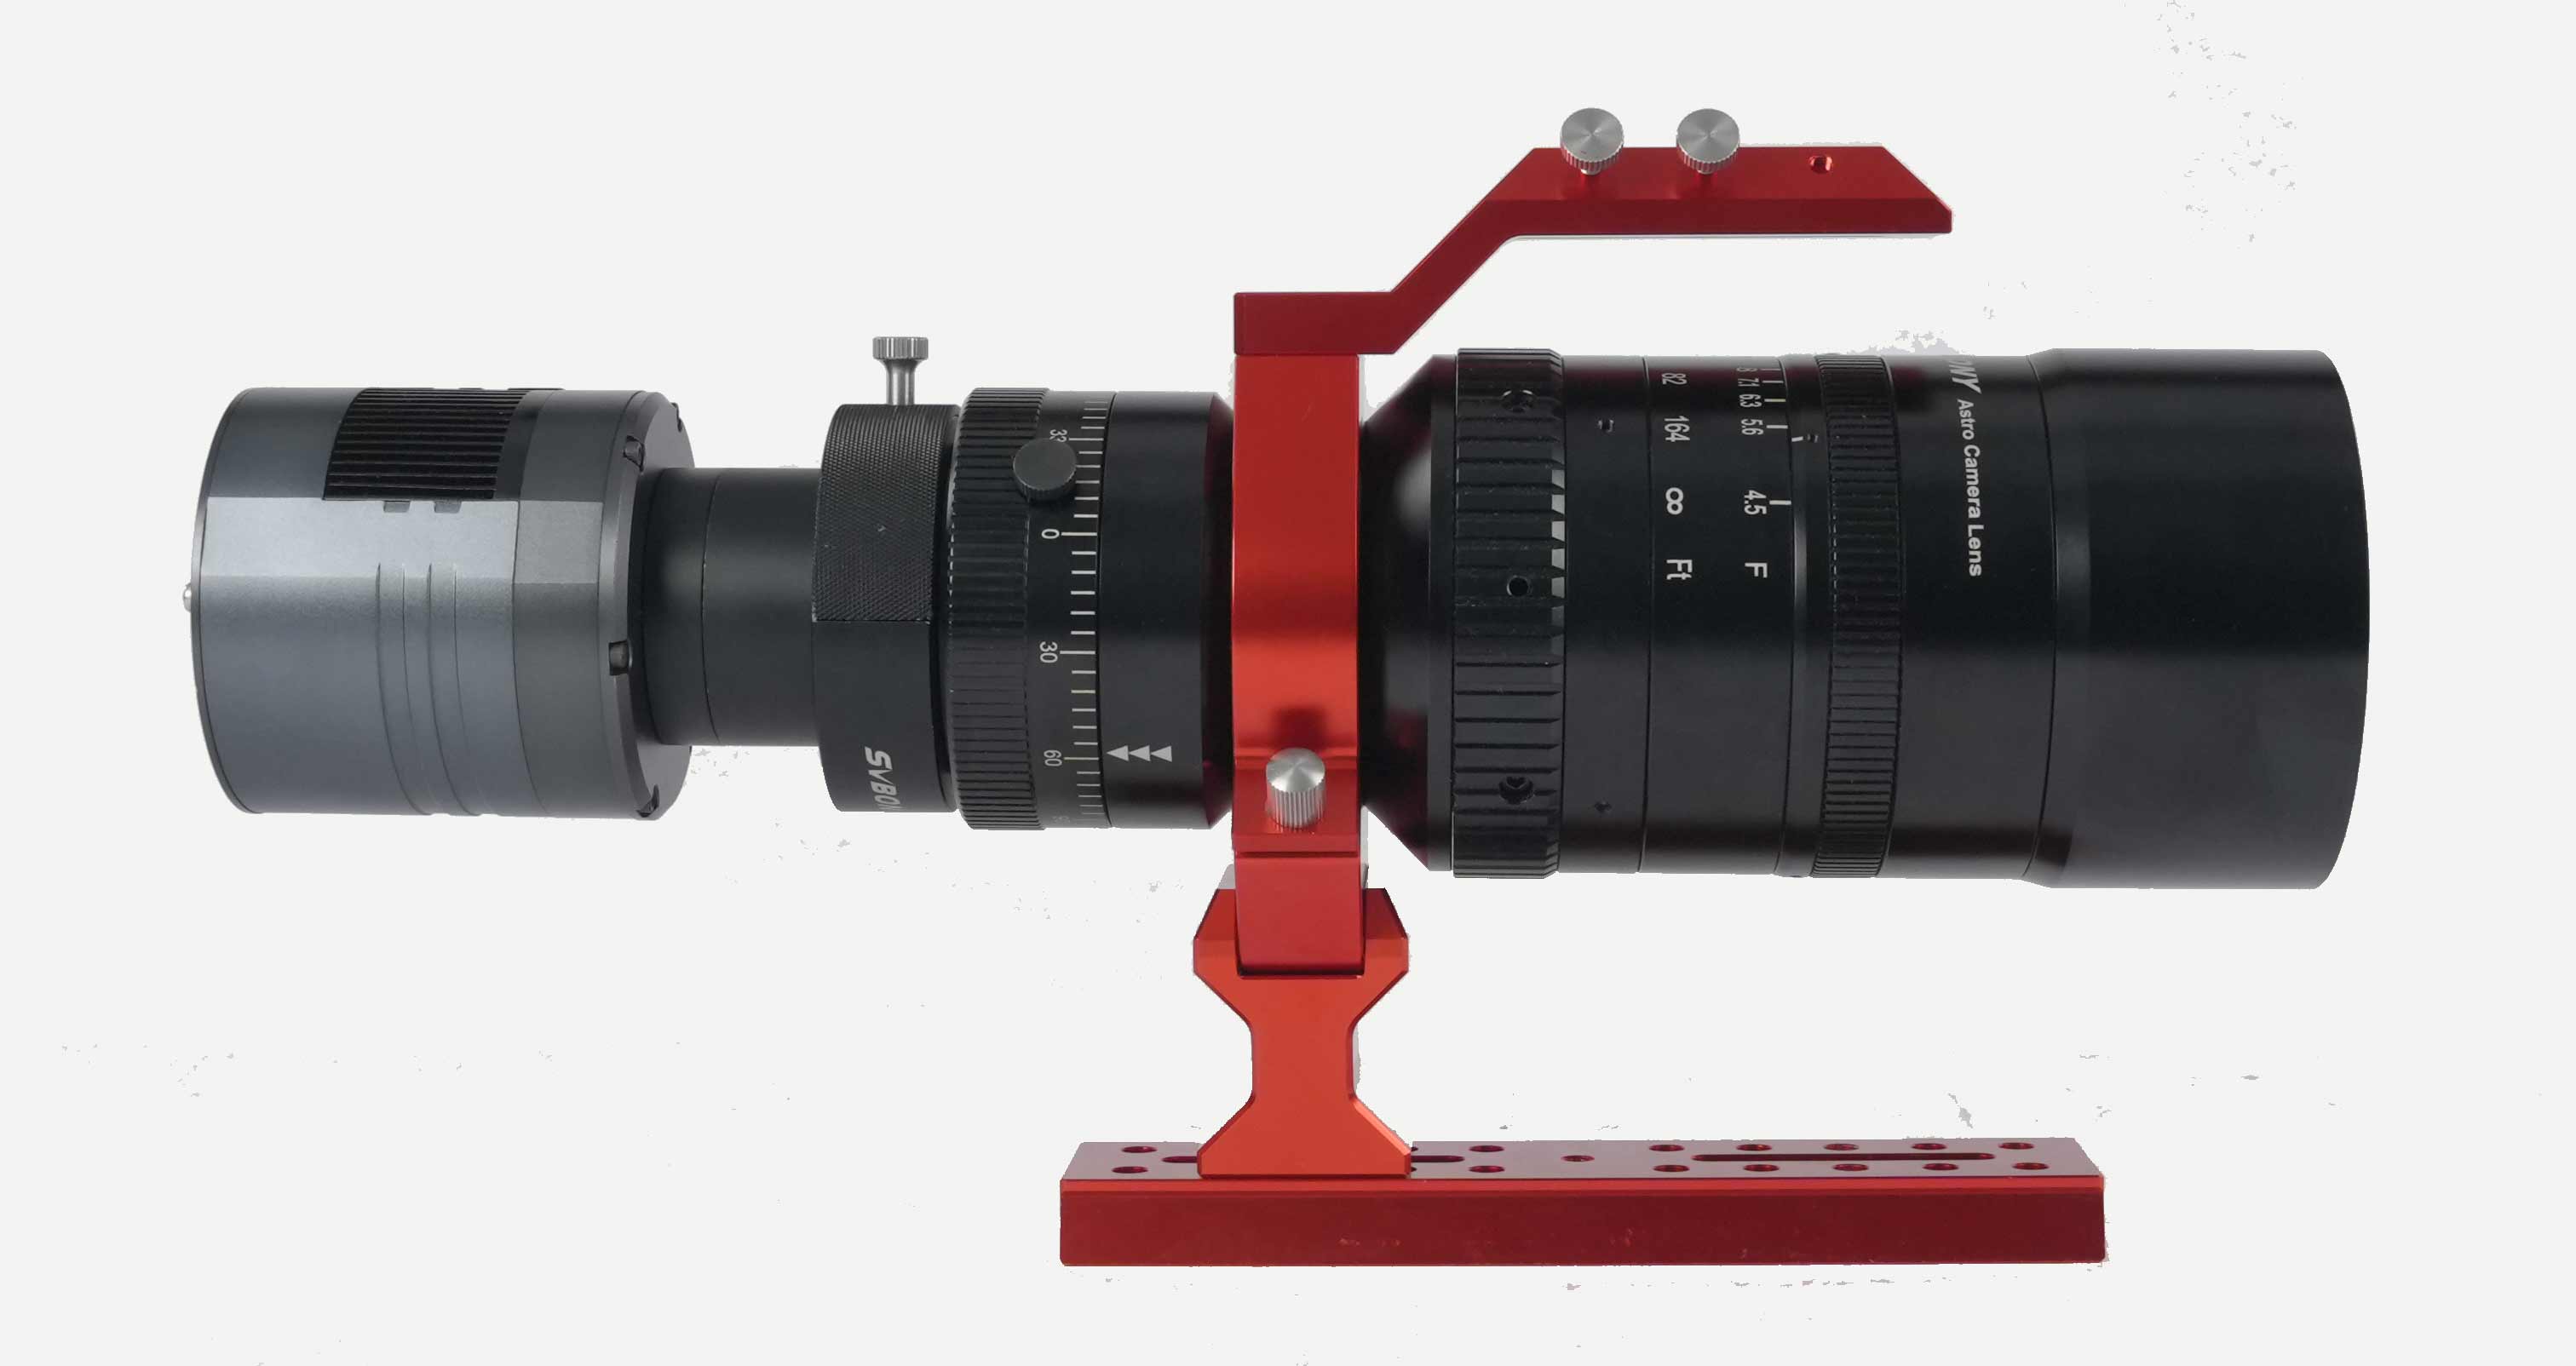
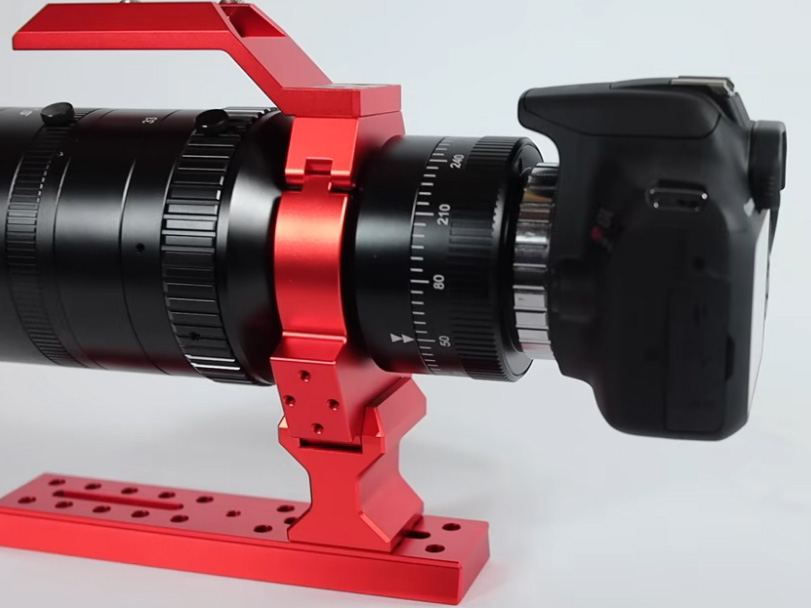 For a dedicated astronomy camera, the process is more straightforward. These cameras typically come with a set of spacers needed to achieve the required 55 mm back focus distance. In most cases, you will need to combine a 21 mm spacer ring with a 16.5 mm spacer ring. Together with this tilt plate adapter and the camera's own sensor recess distance, this will bring you to the precise 55 mm back focus. The exact spacer combination for your specific camera model is usually detailed in the camera's manual or online specifications.
 Filter Installation Method
Now, let's talk about filters. As mentioned, you can use 72mm front-mounted filters on the lens barrel. However, if you prefer to use traditional 2-inch astronomy filters (under 10mm in thickness), they can be installed at the back.
To install a 2-inch filter at the rear, you first need to remove the four small screws on the back plate, using the included hex key. After unscrewing the plate, thread the filter directly onto the exposed M48 threads, then reattach the plate by screwing it back into place.
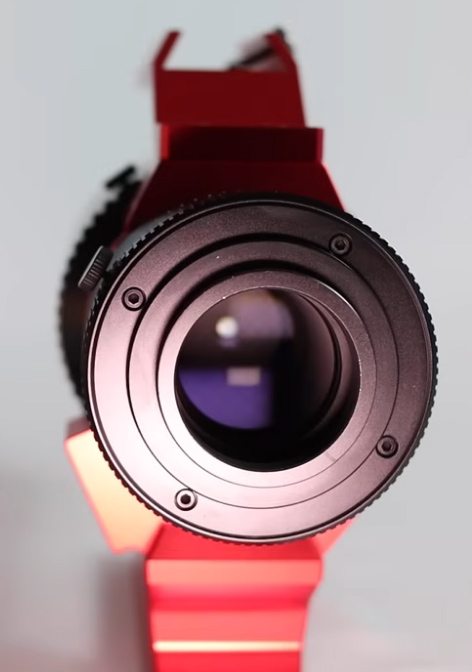

This method is ideal if you're using a DSLR or mirrorless camera with a T-ring already in the imaging train, and where maintaining specific optical spacing is critical - since you wouldn’t be able to use a filter drawer in that configuration. Another option for DSLR or mirrorless users is a clip-in filter, which sits right in front of the camera sensor. That’s a great alternative if you find the rear-filter process too cumbersome.
If you're using a dedicated astronomy camera, you could still install a filter at the rear this way. However, due to the frequent need to change filters, I strongly recommend using a filter drawer instead.Otherwise, you’d have to unscrew those four tiny screws every time you want to change a filter.
Simply replace the 21mm spacer ring with the drawer unit.This method allows for easy filter replacement without disassembling the device.
FAQs about SV555 Astrograph
- Q1. What is the weight of the SV555 Astrograph?
A. The optical tube by itself weighs about 4 pounds (just under 2 kg), and with all the accessories, the total comes to roughly 5 pounds.
- Q2. What are the dimensions of the SV555 Astrograph?
A. Approximately 203 mm without the Lens hood and around 256 mm with the Lens hood.
- Q3. Can it also be used as a camera lens?
A. Yes, it has an adjustable aperture from f/22 to f/4.5 and is compatible with mainstream DSLR and mirrorless cameras, functioning as a manual telephoto lens.
- Q4. Is this equivalent to a 240mm telephoto lens? How large is the image circle?
A. Yes, it can be used as a telephoto lens, but it is a manual focus lens. The full-frame image circle range is 44mm.
- Q5. What is the focal length at F22?
A. 243mm.
- Q6. Is the lens hood removable?
A. Yes.
- Q7. Will we need a spacer to use astro cameras like the SV305?
A. Yes, the mirror rear intercept is a standard 55mm.
- Q8. Which sensor size is the SV555 best suited for?
A. Since the SV555 supports full-frame camera imaging, it is ideally paired with a full-frame camera. At the same time, it is backward compatible with smaller sensor formats such as APS-C, 1-inch, 4/3-inch, and 1/1.2-inch, fully meeting your deep-sky photography needs.
- Q9. Does the SV555 need a field flattener?
A. No, because SV555 is a petzval structure with an internal flat field design.
- Q10. Matching element Lanthanum glass?
A. Yes, our optical design uses H-ZF lanthanum glass for superior performance.
- Q11. Does the SV555 come with an auto focuser adaptor?
A. Yes, the SV555 comes with an EAF kit.
- Q12. What is the ED lens material?
A. FCD 1
If you have any other questions, pls feel free to contact us at support@svbony.com
Happy astrophotography!


There are no customer reviews yet . Leave a Reply !