
Table of Contents
How to Build Your First Astrophotography Rig
Astrophotography lets you capture the unimaginable beauty of the cosmos - but where do you start? This guide walks you through assembling your very first beginner astrophotography setup, step-by-step.
Part 1: Understanding the Core Components
A basic deep-sky astrophotography setup consists of five essential pieces.
The Mount: The Most Important Piece
The equatorial mount is the foundation of your rig. Its job is to counteract Earth’s rotation by moving your camera in perfect sync with the stars - a process called tracking.
Beginner Recommendation: Start with a reliable, computer-controlled (GoTo) equatorial mount. A stable mount is 70% of your success.
The Telescope or Lens
This gathers light from distant nebulae and galaxies.
For Beginners: A small refractor telescope (60-80mm aperture) is often ideal. It’s lightweight, portable, and mostly free of the optical issues that complicate imaging. Alternatively, a fast, wide-angle camera lens (e.g., 35mm f/2.8 or 45mm f/4.5) is a fantastic and affordable way to start capturing large nebulae.
The Camera: Capturing the Light
You need a camera that performs well in extreme low-light conditions.
Modified DSLR/Mirrorless: A standard camera can work, but one modified for astrophotography (with its IR filter removed) captures hydrogen-alpha light from nebulae much more effectively.
Astronomy-Specific Camera (Cooled): For the best results, a dedicated cooled astronomy camera regulates its sensor temperature to drastically reduce noise in long exposures. The SC571CC color cooled camera offers great options.
The Field Flattener/Reducer: For Sharp Stars
A simple refractor or camera lens will often distort star shapes at the edges of your image. A field flattener corrects this, ensuring stars are pinpoint sharp across the entire frame.
Guide Scope & Guide Camera: Precision Tracking
Even the best mount makes tiny errors. A guide system uses a small secondary camera locked on a star to send micro-corrections to the mount, ensuring perfect tracking for those long, sub-exposures.
Simple Solution: An off-axis guider (OAG) or a small 30mm guide scope paired with a guide camera like the SV905C.
Dew Prevention System
The dew heater is wrapped around the front barrel of the telescope or lens. By providing gentle heating, it raises the temperature of the lens slightly above the ambient dew point, completely preventing dew or frost formation. This ensures that your valuable hours of shooting time are not wasted.
Power Supply System
Voltage instability can cause equatorial mount tracking errors, camera restarts, and even damage to equipment. You need a solution to simultaneously power the equatorial mount, main camera, cooled camera, guide camera, computer, and potentially dew heaters.
Outdoor Power Source: Large-capacity outdoor power sources, typically offering both AC and DC outputs, are very convenient.
Power Box: This is the most professional and tidy solution. We recommend the SV241 Pro Astro Power Controller. It provides multiple ports for centralized power distribution, along with voltage and current monitoring and short-circuit protection. It can significantly reduce cable clutter and allow control of cameras, equatorial mounts, and automated imaging sequences through a single device.
Part 2: Assembling Your Beginner Astrophotography Setup
Step 1: Secure the Foundation
Attach your equatorial mount to a solid tripod or pier on level ground. Perform an accurate polar alignment (aligning the mount’s axis with Earth’s rotational axis). Many modern mounts have assistive software for this.
Step 2: Attach the Main Optics
Secure your refractor telescope or camera lens to the mount’s saddle plate. If using a camera lens, you’ll need a sturdy lens-to-mount adapter.
Step 3: Install the Imaging Train
Attach the field flattener to the telescope. Then, connect your main camera to the flattener using the appropriate spacers (back-focus distance is crucial - check your gear’s specifications).
Step 4: Add the Guidance System
Mount your small guide scope onto the main telescope using a dual-ring bracket. Connect the guide camera to the guide scope. If using an OAG, it slots into the imaging train between the flattener and main camera.
Step 5: Power and Cable Management
After balancing, smoothly wrap the dew heater tape around the front end of the main tube.Connect the power cables of all devices (equatorial mount, cameras, etc.) to your power distribution box. Ensure all connections are secure and plan the cable routing to avoid tangling, which could affect balance or tracking. Use cable ties to neatly organize and secure power cables and USB cables.
Part 3: Your First Deep Sky Imaging Tutorial - A Practical Run
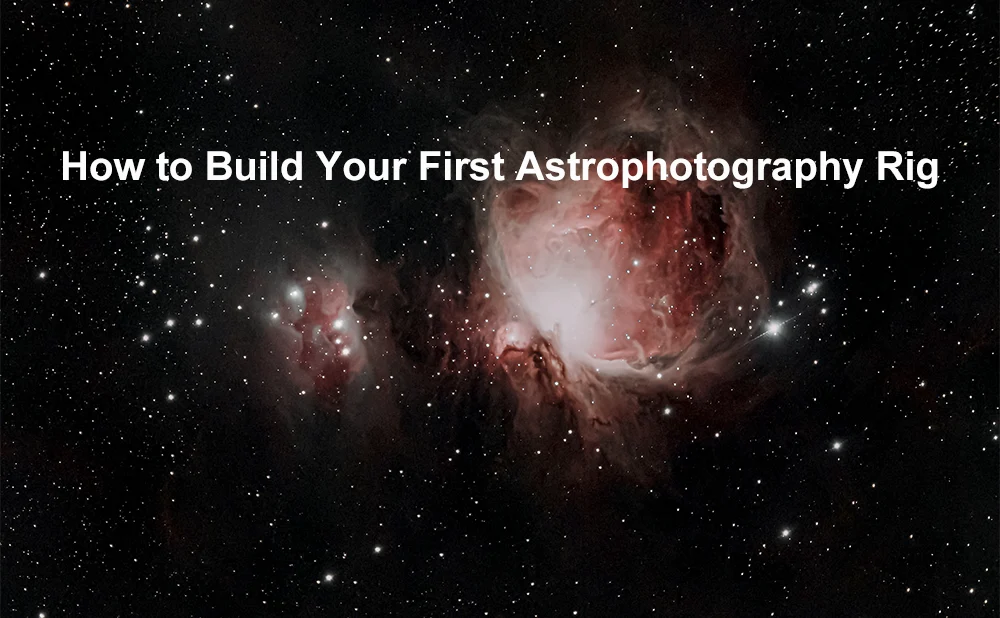
Let’s image a bright, beginner-friendly target: The Orion Nebula (M42).
Power Up & Connect: Power the mount and all cameras. Connect the guide camera and main camera to a laptop or dedicated mini-computer.
Polar Align: Use the mount or computer’s polar alignment routine.
Slew to Target: Command the mount to “GoTo” Orion.
Focus: Use your camera’s live-view and a Bahtinov mask to achieve perfect focus on a bright star.
Calibrate Guiding: Start your guiding software (e.g., PHD2) and let it calibrate the guide camera.
Plan Your Shoot: In your capture software (e.g., N.I.N.A., Sequence Generator Pro), set your plan: 90-second exposures, ISO 800 (for DSLR), at -10°C (for cooled cam), for 2-3 hours total.
Capture: Start the sequence! The software will take exposures, dither between frames (shift the image slightly), and manage everything automatically.
Process: Stack your best frames (often 50+) using free software like DeepSkyStacker, then adjust curves, stretch the data, and reduce noise in Adobe Photoshop or PixInsight.
Part 4: Pro Tips to Start Strong
Start Wide: Begin with a camera lens to master polar alignment, guiding, and processing before moving to longer focal lengths.
Master the Software: Spend clear nights practicing with your capture and guiding software. Cloudy nights are for studying processing tutorials.
Patience is Key: Your first images might be frustrating. This is a steep but incredibly rewarding learning curve.
Community: Join forums like Stargazers Lounge or Cloudy Nights. The astrophotography community is famously helpful.
The cosmos is waiting. What will you capture first?
There are no customer reviews yet . Leave a Reply !