
Table of Contents
Review of SV241 Pro Power Controller from Svbony
Since its release, the SV241 Pro astro power controller has garnered significant attention. To help you gain better mastery of this device, I will now share professional reviews from Logan's Astro along with more operational guidance.
Logan's Astro Review
Alright, let's talk about the SVBONY SV241 Pro power box. I've been putting it through its paces, and here's my take on everything from unboxing to daily use.
What's in the Box
I needed a replacement for my old Pegasus power box, which was acting up with USB failures and not delivering enough juice. The SV241 Pro seemed like a solid, feature-packed upgrade, and it definitely is. Right out of the box, you get a lot for your money: the main unit itself, a hex key and screws for mounting, a cigarette lighter power cable, a USB 3.0 cable, an extra power cable, two temperature/humidity probes (one short, one long), and the manual.
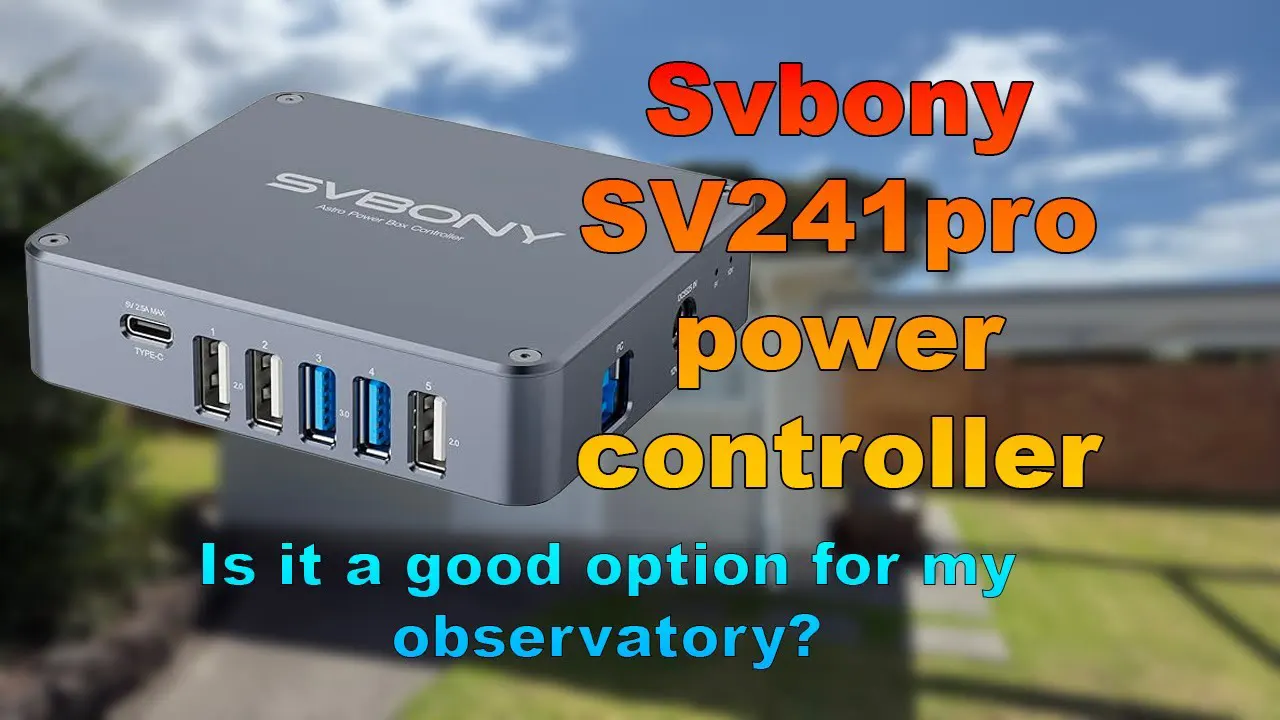
The specs are impressive for this price point: five independently controlled DC outputs, plus one always-on port. For USB, you get three USB 2.0, two USB 3.0, and one USB-C port, which are managed in two separate groups. There are also two RCA ports for heater strips - one for automatic control and another for manual. It has all the essential protections like over-current, over-voltage, and short-circuit, which gives you peace of mind.
Setting It Up on My Rig
Installation was straightforward. I mounted it to my telescope's Losmandy plate using heavy-duty hook-and-loop fasteners and a couple of zip ties for extra security. I positioned it a bit lower than my old one to help keep cable runs nice and short.
For connections:
-
The DC outputs now power my focuser, my ZWO ASI 2600 MM Pro camera, and my rotator.
-
I've connected some USB devices, like my guide camera, directly to my main camera's hub, while others, like the focuser and rotator, are plugged into the SV241's USB ports.
-
I'm using my iOptron mount's built-in cable management to keep everything tidy and prevent tangles during rotation.
-
For power input, I'm just using a simple 2.1mm to 2.5mm adapter to connect it to my mount's power supply.
I plugged the short temperature probe into the unit to monitor ambient conditions, and the long one is dedicated to my primary lens heater.
Software & The Hiccup We Solved
This is where we hit a small, but fixable, snag. You do need to grab the ASCOM driver, the Hub Control Manager, and the firmware update tool from the SVBONY website. A quick tip: during installation, Windows might complain; you just need to allow it to run.
Once inside NINA, I selected the SVBONY ASCOM driver and then took the time to properly label all the ports. Trust me, naming your "Port 1" as "Main Camera" makes remote management so much easier.
Now, for the main issue: after the first boot, my sensor readings were completely wild—showing 380°C and 350,000% humidity! I knew this wasn't right. The solution was to run the firmware update tool (it's in Chinese, but just find the correct COM port and click "Update"). That fixed the crazy numbers, but my voltage readings were still off. A simple restart of the power box brought everything back to normal. I've seen online that other users, like Ben, had similar glitches that a restart cleared up. It's a minor hassle for initial setup, but worth knowing.
How It Performs: The Good
-
Remote Control is a Game-Changer: Being able to integrate it with NINA sequences is fantastic. I can now set my rig to automatically power down the camera and heater strips after a night of imaging. This is absolutely essential for my remote observatory setup.
-
USB Group Control is Smart: While it doesn't have individual USB port control (which you'd find on much more expensive units), the group switching is incredibly useful. If a device acts up, I can cycle power to its entire group remotely without needing to reset the whole box.
-
Automatic Dew Control Works Well: The auto function on RCA port 1, which calculates the dew point and kicks in the heater when needed, has been reliable so far. I still have the manual control on port 2 as a backup for really demanding situations.
-
Stable Power: Most importantly, it powers my ASI 2600 MM Pro's cooling without any issues, something my old Pegasus unit struggled with.
A Few Considerations
-
Initial Setup: The need for a manual firmware update and a potential restart is a bit of a hassle. It's not plug-and-play perfect out of the box.
-
Dew Anxiety: I have a slight concern about whether the automatic heater control can react quickly enough in a rapidly shifting, high-humidity environment. I'll be keeping a close eye on this.
-
Long-Term Reliability: I've only had it for a short while. I can't yet vouch for its durability over years of use, but so far, so good.

Final Thoughts
Overall, I'm really happy with the SVBONY SV241 Pro. For its price, it offers tremendous value. It solved my immediate power issues and added crucial remote management features that fit my workflow perfectly. If you're an astrophotographer looking to build or upgrade a remote-capable rig without spending a fortune, this power box is definitely worth your serious consideration.
Once again, we extend our gratitude to Logan's Astro for their testing, which has showcased the powerful performance and reliability of the SV241 Pro.
To help you better utilize this device, here is a detailed operation guide for the SV241 Pro astronomy power controller.
SVBONY SV241 Pro INDI Driver User Guide
Features
The SVBONY SV241 Pro features five 12V DC outputs with ON/OFF control, a variable voltage DC output capable of regulating up to 15.3V, one constant 12V DC output, and six USB ports supporting data communication, including Type-C. DC ports can connect to DSO cooled cameras, equatorial mounts, electronic focus controllers, motorized filter wheels, electronic field flatteners, and more. Additionally, it features two RCA-format PWM outputs that can be connected to anti-condensation heaters. The SV241 Pro’s sensors detect ambient temperature and humidity in real time, enabling automatic temperature control throughout the entire process.The following controls are available with the INDI driver:
- PWM 12V 6A x 2 ports, cycle adjustment from 0 to 100%, ON/OFF switching possible
- DC5521 12V x 5 ports, ON/OFF switching possible
- REGULATED OUT 1 port, voltage adjustment from 0 to 15.3V
- USB
- USB 2.0 x 4 (Type-C x 1, Type-A x 3)
- USB 3.0 x 2 (Type-A x 2)
- Two sets of connectors (Type-C connectors 1 and 2, and connectors 3, 4, and 5) can be switched ON/OFF
Note:
- If any device is connected to the SV241 Pro, Ekos must start the SV241 Pro before other devices when starting Ekos, and stop it after other devices when stopping Ekos.
- Refer to the Profile Script Editor in the Profile section described later for configuration.
- The SV241 Pro’s INDI driver automatically connects upon startup. Manually connecting or disconnecting may cause previously connected devices to reconnect, potentially causing their INDI drivers to malfunction.
- Switching the power OFF/ON while any device is connected to the DC port or USB port may cause those devices to malfunction.
Ekos > Profile > Script

As mentioned earlier, if there are devices connected to the SV241 Pro, you must start the SV241 Pro INDI driver and connect it before those devices. To do this, open the Profile Scripts Editor from the [Scripts] button in the lower right corner of Ekos’ Profile Editor and set a wait time to control the execution order of the SV241 Pro.
If the SV241 Pro remains unconnected after Ekos [Start], turn off “Auto-connect” in the profile settings. Then, ensure no other drivers are connected and select an available port in the SV241 Pro’s “Connection” section. After that, execute Ekos [Disconnect] and [Stop] to completely terminate all drivers, then restart Ekos [Start].
Settings in Profile Script Editor
- Add one rule using [Add Rule].
- Specify Driver: “SVBONY SV241 Pro”.
- Post start: Specify the wait time in seconds when launching the SV241 Pro INDI driver. With this setting, other drivers will wait for the specified number of seconds before launching.
- Pre stop: Specify the wait time in seconds from Ekos [Stop] until SV241 Pro begins shutdown. Ensure sufficient time is set for other drivers to terminate. With this setting, SV241 Pro will shut down after the specified time elapses, meaning after other drivers have finished.
Connection

In Connection, configure the connection settings between the computer and the SV241 Pro.
- System Ports: A list of available serial ports.
- Ports: You can enter the port name directly.
- Baud Rate: Fixed at 115200. Do not change this setting.
- Auto Search:
- Enabled: Automatically detects the target serial port.
- Disabled: Does not perform automatic serial port detection.
- Refresh > Scan Ports: Rescans the computer’s current serial ports and refreshes the System Ports list.
Dew

In Dew section, configure the PMW OUT settings.
- Toggle Dew: Switches PWM 1 and 2 ON/OFF.
- Duty Cycle: Sets the output level of PWM 1 and 2 from 0% to 100%. The set level is effective when Toggle Dew is ON.
Power

In the Power section, configure the DC OUT settings.
- Cycle Power: Turns all DC 1-5 and USB connectors OFF continuously, then ON.
- Toggle DC: Switches DC 1 through 5 ON/OFF.
Variable

In the Variable section, configure the REGULATED OUT settings.
- Channels: Toggle the ON/OFF state of REGULATED OUT.
- Voltage: Adjust the output voltage between 0 and 15.3. The set output voltage is active when Channels is ON.
USB

In the USB section, set the USB ports.
- Ports: Switch between USB Type-C, 1, and 2, and USB 3, 4, and 5.
Summary
In summary, the SV241 Pro is a comprehensive and highly cost-effective astronomical power controller that significantly enhances the reliability and convenience of remote or automated astrophotography workflows. For enthusiasts looking to achieve intelligent observation equipment management and remote control within a budget, the SV241 Pro is a highly commendable option worth serious consideration.
Comments (2 )
WPR
All works, however there are some quality of life issues that need to be resolved.. There isn't actually a way to permanently change the names of the ports! While they can be temporarily changed in ascom, through properties. Any change through ascom prop
WPR
All works, however there are some quality of life issues that need to be resolved.. There isn't actually a way to permanently change the names of the ports! While they can be temporarily changed in ascom, through properties. Any change through ascom prop