
Table of Contents
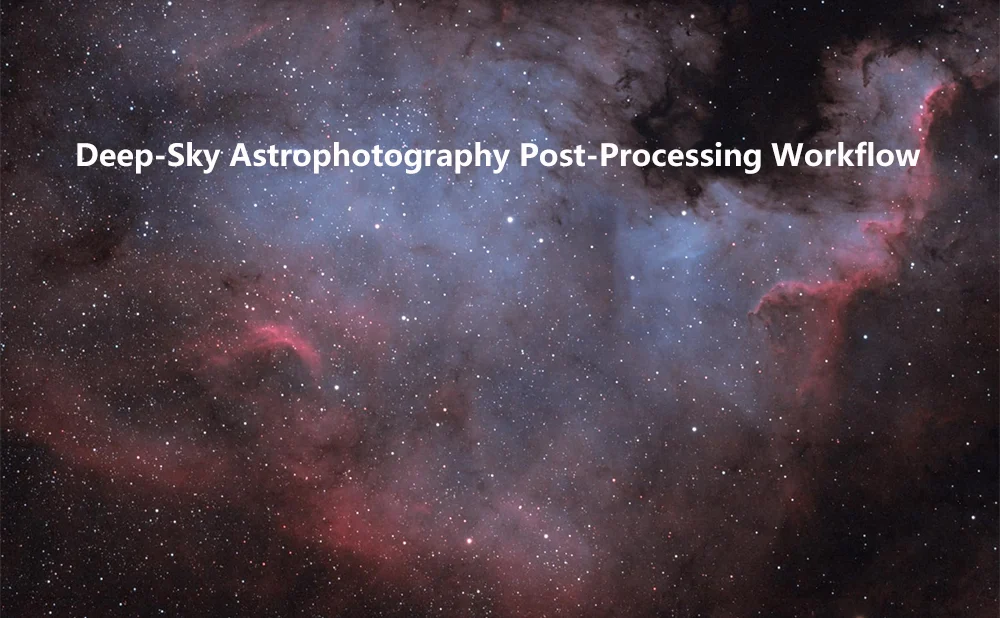
Deep-Sky Astrophotography Post-Processing Workflow
For deep-sky astrophotography enthusiasts, the cooled camera is our ultimate tool for capturing the most beautiful wonders of the universe. By utilizing thermoelectric cooling to lower the sensor temperature by 20 to 40 degrees below ambient, it effectively suppresses thermal noise, providing high-quality raw data for post-processing. However, after acquiring a cooled camera, many hobbyists often find themselves puzzled: Why are my final images still not meeting expectations? In reality, the magic of a cooled camera lies not only in the low-temperature control during capture but also in a rigorous and scientific post-processing workflow.
Today, I will use the post-processing of cooled camera data as my theme, breaking down every critical step for you in detail - from pre-shoot preparations all the way to the final image output.
Part 1: The Fundamental Logic of Pre-Shoot Settings
Before opening any post-processing software, we need to understand two core parameters of the cooled camera during capture, as they directly impact the potential of later processing.
Gain and Offset: The Quality of Your Negative
Taking ZWO ASI cameras as an example, the Gain and Offset settings in their ASCOM driver are crucial.
-
Highest Dynamic Range (HDR) Mode: This typically corresponds to low gain (e.g., Gain=0). At this setting, the camera's full well capacity is at its maximum, allowing it to capture more photon information. It is suitable for long exposures photographing galaxies or nebulae with lower contrast. Stars in individual subs appear more solid, and the background appears cleaner.
-
Lowest Read Noise (LRN) Mode: This corresponds to high gain (e.g., Gain=300). Although the full well capacity decreases, the read noise becomes extremely low. If you are limited by light-polluted skies or lack a precise mount, forcing you to use short exposures (e.g., 5-10 seconds), the signal-to-noise ratio achieved by stacking many high-gain subs might actually surpass that of the low-gain mode.
Conclusion: If you have good tracking and longer individual exposure times (e.g., over 3-5 minutes), choose low gain (high dynamic range). If you are doing "lucky imaging" or your exposure time is severely limited, high gain (low noise) is the better choice.
The True Meaning of Cooling: Temperature Stability
Cooling isn't just about being "cold"; more importantly, it's about "temperature stability". The significant advantage of a cooled camera is maintaining a constant temperature (e.g., keeping the sensor at -10°C or -15°C). This ensures the thermal noise pattern during light frame capture matches the pattern during dark frame capture. Only with this consistency can dark frame calibration accurately subtract the noise. During a session, avoid running the cooler at 100% fluctuating power. Instead, set a specific target temperature (e.g., -10°C) and let the camera maintain it constantly.
Part 2: The Indispensable "Calibration Frames"
Cooled cameras produce raw data in formats like RAW or FITS, which contain various systematic errors. We must eliminate these errors using calibration frames. This is the first and most critical step in post-processing.
Dark Frames
Dark frames are pure black images taken with the lens cap on, using the exact same temperature, gain, and exposure time as your light frames. They record the sensor's own thermal noise and fixed pattern noise. If your cooled camera maintains a stable temperature, a single set of darks can be reused for an entire imaging season.
Flat Frames
Flat frames are taken under uniform illumination (e.g., using an electroluminescent panel or pointing at a twilight sky). They correct for optical imperfections in your setup, such as vignetting and dust shadows. Crucially, do not adjust the focus when taking flats. Only adjust the exposure time to achieve a suitable histogram level (typically around 30,000-40,000 ADU for 16-bit).
Bias Frames
Bias frames are images taken with the shortest possible exposure time (microseconds) and the lens cap on. They capture the fundamental electronic noise produced when the sensor is read out. In some processing workflows, if your dark frames already contain the bias signal (if they aren't "dark flats" or if you're using optimized darks), bias frames can be omitted. However, for rigorous processing, it's recommended to include them.
Part 3: The Post-Processing Workflow in Action
Once we have accumulated sufficient raw files, we can enter the actual post-processing phase. Here, we'll outline a classic workflow using the most professional software in deep-sky astrophotography, PixInsight (PI) , combined with Photoshop.
Step 1: Pre-Processing - Calibration and Stacking
In PixInsight, pre-processing is often efficiently handled by the WBPP script, but understanding the underlying logic is valuable:
-
Calibration: Each light frame is calibrated using the dark, flat, and bias frames we captured earlier. The formula simplifies to: Calibrated Light = (Light - Dark) / (Flat - Bias) . This step removes the vast majority of systematic noise.
-
Star Alignment: Due to Earth's rotation, the stars' positions shift slightly between each frame. We use software (StarAlignment in PI) to match and align all calibrated images based on their star patterns.
-
Integration (Stacking): The aligned images are stacked together. The principle here is that the signal (the astronomical object) accumulates linearly, while random noise is averaged out and suppressed. The more frames you stack, the higher the signal-to-noise ratio.
Step 2: Linear Phase Processing (Before Nonlinear Stretching)
At this point, the stacked image is still linear (i.e., brightness is directly proportional to light intensity). We need to perform initial processing without breaking this linear relationship.
-
Crop: Remove the stacking artifacts and uneven edges resulting from the integration process.
-
Background Neutralization: Use tools like DynamicBackgroundExtraction or AutomaticBackgroundExtractor to remove gradients or uneven background caused by light pollution or optical anomalies. Aim for a neutral background sky, close to pure black or neutral gray.
-
Color Calibration: Use the ColorCalibration tool, referencing background stars in your galaxy or nebula image, to restore the true colors of the celestial object. This is significantly more accurate than Photoshop's automatic color adjustments.
Step 3: Nonlinear Phase - Revealing Details
Once the background is uniform and colors are calibrated, we can stretch the image (brightening the shadows and compressing the highlights) to make the faint nebulosity visible. This step typically uses HistogramTransformation.
-
Remove Green Noise: Deep-sky images often suffer from unwanted green noise artifacts. Using the SCNR tool targeted at the green channel can magically remove this green cast.
-
Noise Control (Denoising): Although cooled cameras have low noise, it can still become apparent after aggressive stretching. Use tools like TGVDenoise or MultiscaleLinearTransform for targeted noise reduction, applying them carefully to the background while protecting star details.
-
Enhance Details:
HDRMultiscaleTransform: Useful for compressing the brightness of bright cores (like in galaxies) while simultaneously bringing out fainter details, revealing more internal structure.
Enhancing Luminance and Contrast: You can duplicate the image, extract the L (luminance) channel, enhance its contrast using curves or masks, and then recombine it with the original color image using LRGBCombination. This technique dramatically improves the image's three-dimensional "pop."
Conclusion
Post-processing for cooled camera data is both an art and a science. It demands rigorous calibration discipline and the delicate aesthetic sensibility needed to faithfully reproduce the grandeur of the cosmos. I hope this article helps you map out a clear and effective workflow. The next time you sit at your computer facing a mountain of raw files, remember that every pixel is a messenger arriving from a distant star, and your post-processing is the act of helping those messengers tell their stories clearly and beautifully.
May your skies always be clear!
There are no customer reviews yet . Leave a Reply !