
Table of Contents
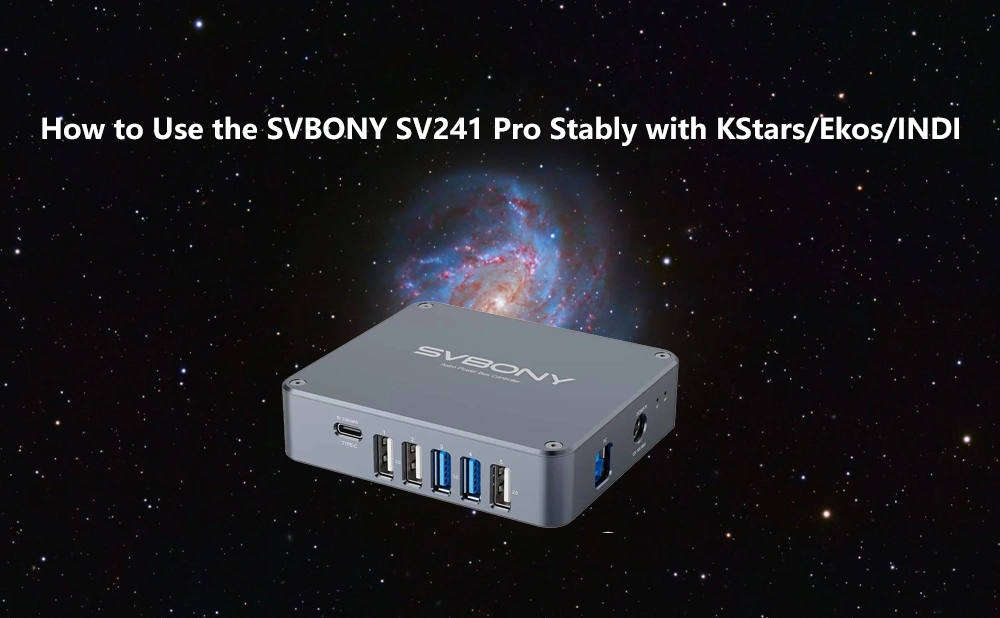
How to Use the SVBONY SV241 Pro Stably with KStars/Ekos/INDI
When using the SV241 Pro with KStars/Ekos, have you ever run into issues like: "a connected device sometimes does not respond" or "connections are unstable"?
This happens because there are cases where the SV241 Pro serial communication behavior and Linux device handling do not work well together. In this article, I summarize two practical measures that actually improved stability.
- Note-1
In this article, [Connect] means a software connection inside KStars/Ekos/INDI.
"connect" means a physical cable connection. - Note-2
The test environment is Raspberry Pi 5 + StellarMate OS.
(StellarMate OS is based on Arch Linux and includes KStars/Ekos/INDI.)
What Is Happening
On the SV241 Pro, USB can be reset around the timing when Ekos goes from [Start] to [Connect]. As a result, devices connected downstream of the SV241 Pro can be briefly disconnected, making INDI drivers unstable.
Also, on Linux, the number in /dev/ttyUSB<number> can change depending on connection order and detection order. When this happens, a port that worked last time may not work the next time.
Bottom Line: These Two Steps Improve Stability
1.Use a Profile Script to control the SV241 Pro start/stop order.
2.Use /dev/serial/by-path/* instead of /dev/ttyUSB* for serial ports.
Control the Order with a Profile Script
The goal is simple.
- At Ekos [Start]: [Connect] the SV241 Pro first.
- At Ekos [Stop]: shut down the SV241 Pro last.
This reduces brief disconnects of devices connected under the SV241 Pro at bad timing.
Use /dev/serial/by-path/*
Names like /dev/ttyUSB0 can change number based on connection order. By contrast, /dev/serial/by-path/* identifies devices by the physical USB port path, so it stays stable as long as you keep using the same port.
For INDI connection > Port, this is strongly recommended.
Reference: My Environment
In my setup, the three serial devices are SV241 Pro, Juwei 17 Mount, and GEMINI EAF. Their connection > Port settings are as follows:
| # | Device | Connected to | Port name |
| ① | SV241 Pro | Raspberry Pi 5 USB 3.0 | /dev/serial/by-path/platform-xhci-hcd.0-usbv2-0:1.4.4:1.0-port0 |
| ② | Juwei-17 Mount | Raspberry Pi 5 USB 2.0 | /dev/serial/by-path/platform-xhci-hcd.1-usbv2-0:2:1.0-port0 |
| ③ | GEMINI EAF | SV241 Pro USB 2.0 | /dev/serial/by-path/platform-xhci-hcd.0-usbv2-0:1.4.2:1.0-port0 |
In the diagram, ① ② ③ are serial connections. The rest are device-specific connections.

Setup Steps
Find the Serial Port Names
First, check each device under /dev/serial/by-path/*.
Note-3
Keep each device connected to the same USB port from now on.
If you change ports, the by-path name may also change.
- Connect only the SV241 Pro to the Raspberry Pi first.
- Check /dev/serial/by-path in File Manager or in a terminal.
- For example, if you see this, the port name to use is /dev/serial/by-path/platform-xhci-hcd.0-usbv2-0:1.4.4:1.0-port0.
 Add other serial devices one by one and check them using the same method.
Create a Profile
Next, configure SV241 Pro start/stop order using the Profile Script.
- Register all drivers for the devices you use in the Profile.
For the first run, set Auto Connect: OFF and Port Selector: ON.

- Open the Profile Script Editor from the [Scripts] button.

- Enter 10 in Post start.
This makes the SV241 Pro [Connect] first after Ekos [Start], and other devices follow 10 seconds later. - Enter 10 in Pre stop.
This makes devices other than SV241 Pro stop first after Ekos [Stop], then SV241 Pro stops 10 seconds later. - Click [Save] in the Profile Script Editor, then click [Save] in the Profile Editor as well.
Set Serial Ports
- Start Ekos with [Start]; Port Selector opens.

- Set each device to the /dev/serial/by-path/* value you checked earlier.
- Confirm SV241 Pro [Connect] first, then connect the other devices.
- After all devices connect successfully, close Port Selector, then click Ekos [Disconnect] and [Stop].
Final Settings
- Open Profile Editor and change to Auto Connect: ON and Port Selector: OFF.

- Click [Save] and close it.
Setup is now complete. From the next run, devices should connect automatically when you click Ekos [Start].
Still, connection failures can happen occasionally. Before imaging, it is a good idea to open the INDI Control Panel once and confirm that all drivers are connected without errors.
Conclusion
This article is reproduced and adapted from jctk's personal blog with permission to share. Original link: How to Use the SVBONY SV241 Pro Stably with KStars/Ekos/INDI
Special thanks to jctk for his professional insights and testing! Their practical experience has not only helped themselves but also provides valuable reference for our entire user community. SVBONY is always committed to providing reliable products and quality support to our users. If you have any questions or experiences while using our products, feel free to reach out to us through our official community or customer service channels.
We hope this guide proves helpful and makes your journey of exploring the starry skies even smoother and more enjoyable!
Clear Skies!
There are no customer reviews yet . Leave a Reply !