

SV503 Series Telescope+ZWO EAF (Electronic Auto Focuser) Installation Guide
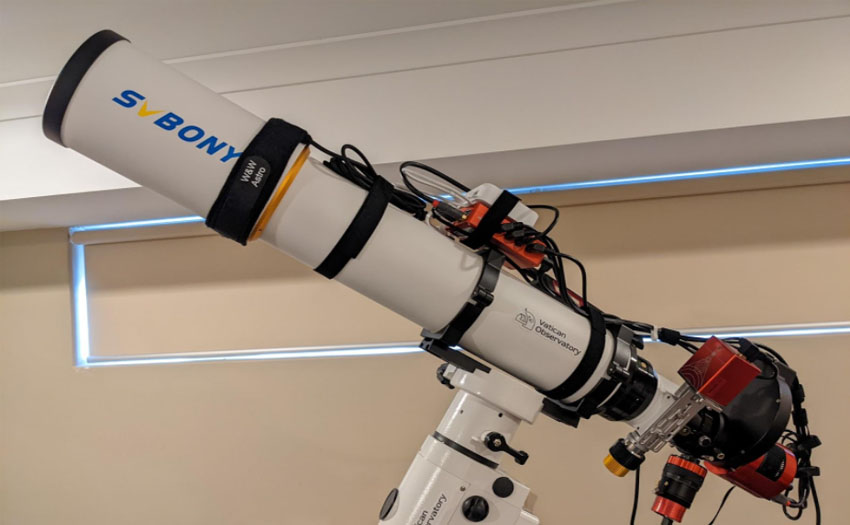
SV503 Series Telescope+ZWO EAF (Electronic Auto Focuser) Installation Guide
1. Introduction
2. Method
1. Check all pieces from ZWO EAF are in the box (check the ZWO website to see what is included inside the box), and Assemble the motor bracket with a 2x M4 screw. (pic.1)
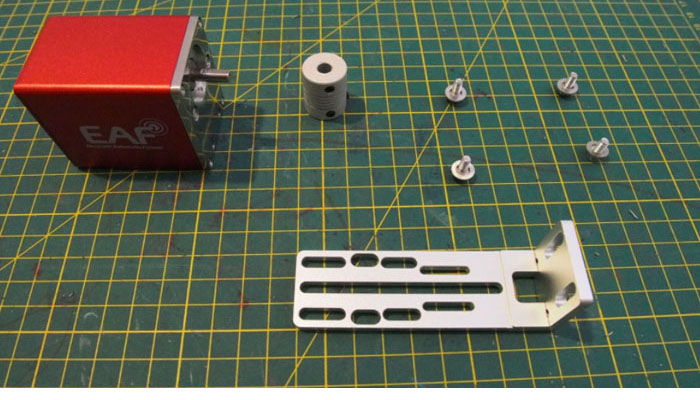
Pic.1 parts required from ZWO EAF BOX
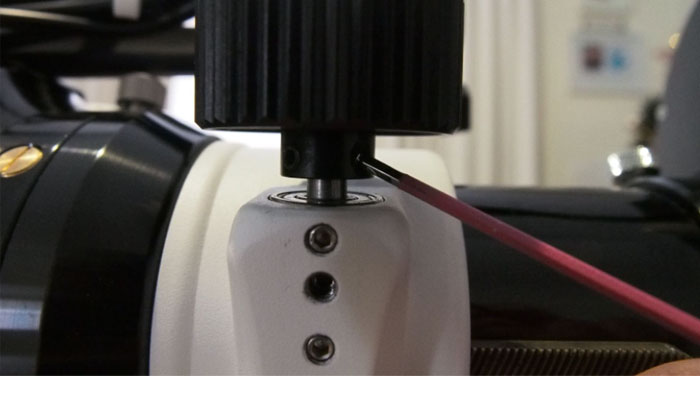
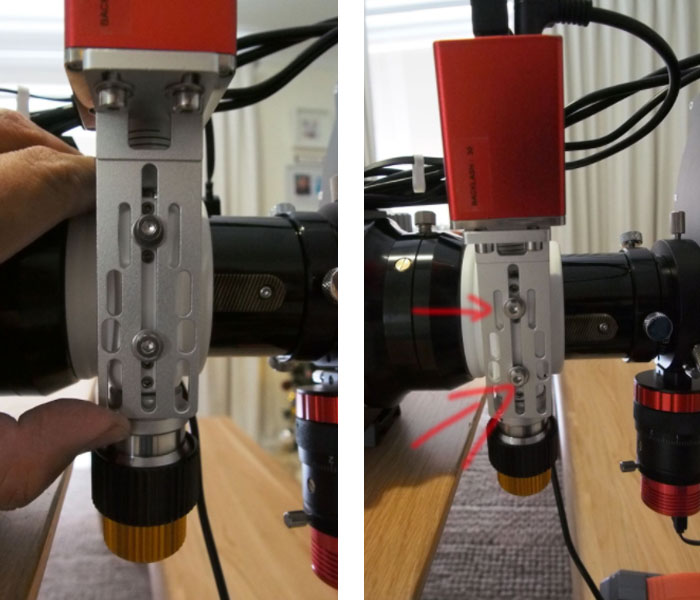
2. Rotate the focuser for easy access. (pic.2)
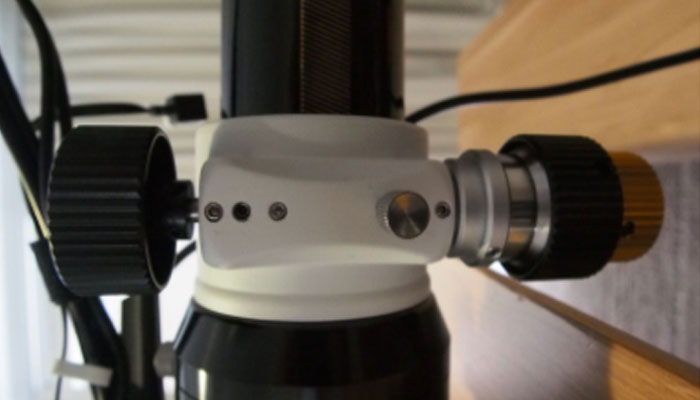
Pic.2 Focuser rotated
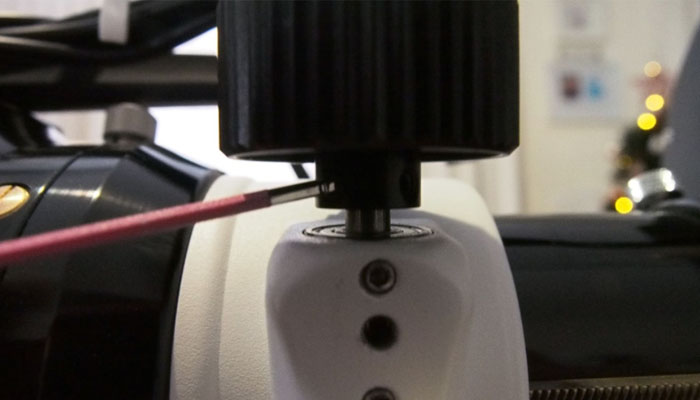
3. Locate the focus lock screw and Tension hold screw hole. (pic.2)
Pic.2 Focus Lock & Tension Hold Screw Hole
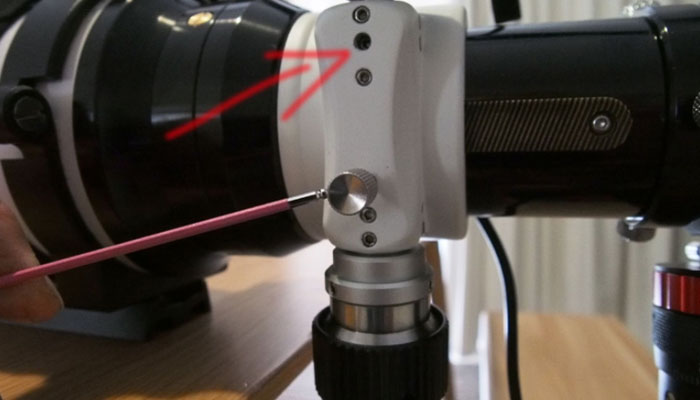
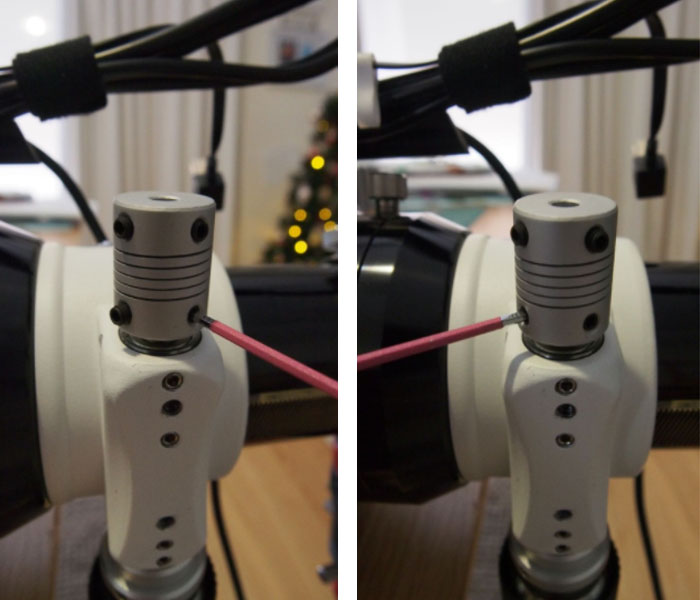
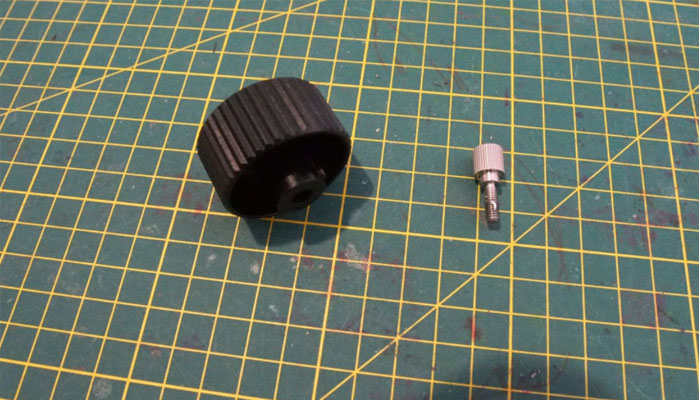
4. Remove the focus lock screw, but DONT TOUCH / REMOVE the Tension grub screw inside the hole. (pic.3)

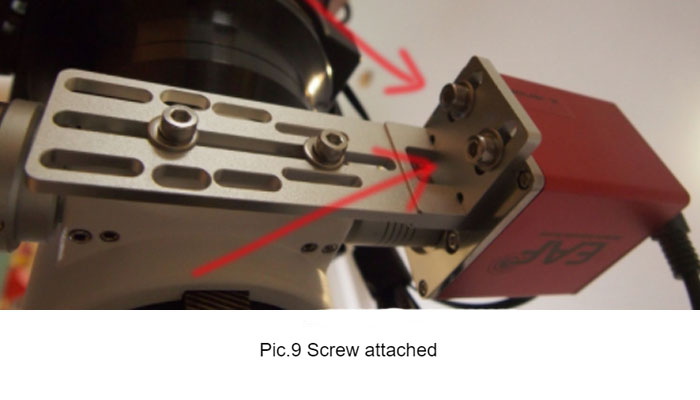
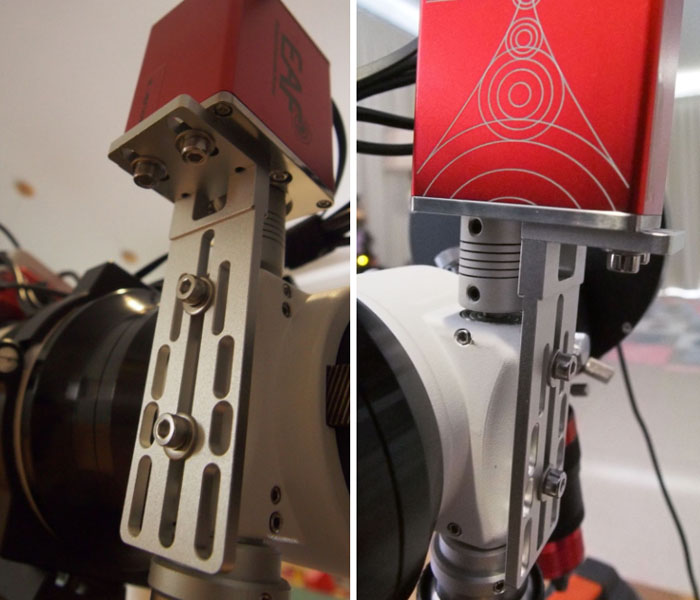
Pic.5 Tighten 2 grub screw

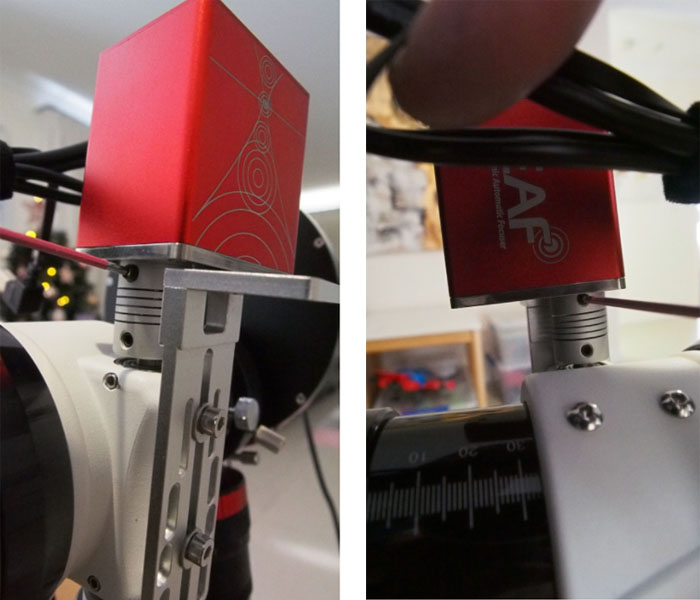
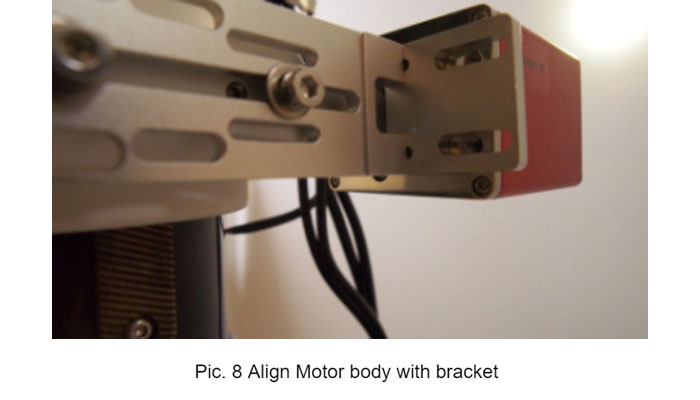
Pic.7 Motor body attached and Grub screw tighten


Comments

Guest
The EAF should be attached to the fine focus adjustment axle, not the coarse one. However, it is just not possible due to the way the scope is built. That is a design flaw that should be corrected in future OTA's. Attaching the EAF to the coarse focus adjuster, makes it to produce steps too large. Even when setting the step size to 1, the movement is too much from one position to the next. I love this scope and I'm planning to get a 550... If it accommodates the EAF the proper way.
Guest
Thanks for making this guide.
Guest
Can you also fit the eaf on the sv48p?
Author
yes, it can be.
markbc01
Thank you for this clear, well-documented instruction page! I have the SV503 /70EP and am adding the ZWO EAP! Your instructions made this very straightforward, quick, and easy! Svbony is quite an impressive company! Thank you again! Mark