
Table of Contents
Using the SV105 Camera Correctly with AstroDMx Capture for Windows
Despite the title, this article applies equally to AstroDMx Capture for Linux and AstroDMx Capture for macOS and also to the SV205 camera.
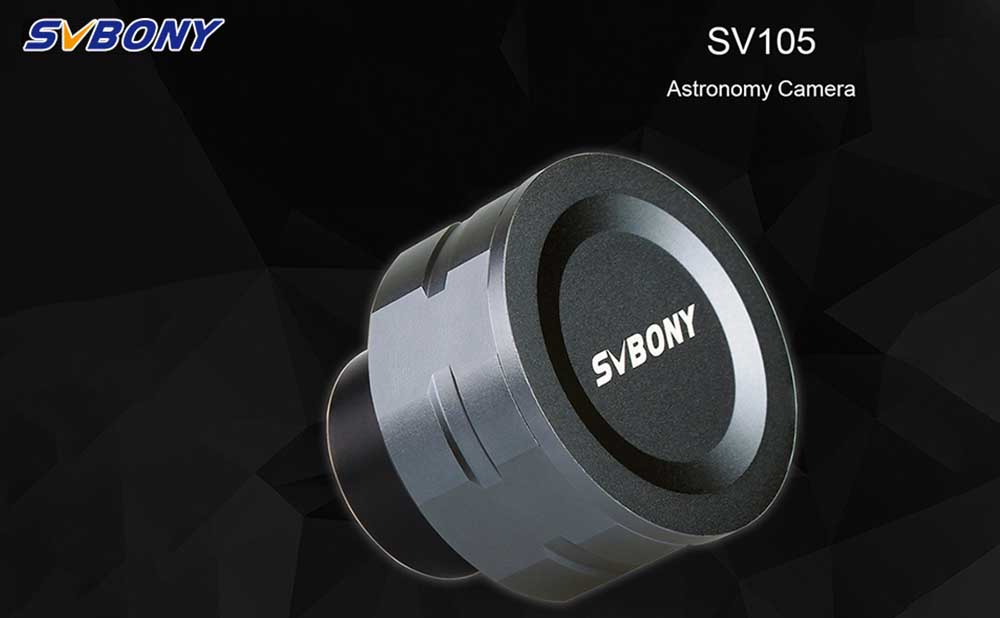
The SVBONY SV105 is a nice, low cost camera for lunar, solar and planetary imaging.
The burden of this camera is that it suffers from pixel-vignetting, which means that when a webcam type lens is not in front of the sensor, the sensor is not evenly illuminated in luminance or in chrominance. This is the situation with the SV105 (and the SV205) when it is placed at the focus of a telescope. The results are ruined by this pixel vignetting.
If the reader is not familiar with vignetting or the separate phenomenon pixel-vignetting, then he/she should conduct online searches to find out more about these two phenomena.
Despite the fact that images of the SV105 (and SV205) are ruined by pixel vignetting, this situation is easily rectified in AstroDMx Capture by means of real time flat-field correction.
Today is an evenly overcast day with the sky covered by a uniform layer of stratus clouds. There are no obvious gradients in the brightness of the sky.
For the astronomer, this represents an opportunity to capture flat fields. The telescope can be pointed at a uniform grey region of the sky and flat-field images captured. Even better, a piece of white plasticard can be taped in front of the telescope to act as an additional diffuser. If the plasticard diffuser is not used, it may be necessary to employ a neutral density filter to prevent the image from being saturated with light.
The image is not uniform and this is the result of pixel vignetting. Such an image is a flat-field. It will be noticed if you look carefully, that there are a number of dust spots on the image.
When flat-field correction is applied to such an image, the result is remarkable.
Two things will be noticed.
• The image is now uniform unlike the uncorrected image.
• The dust spots have been eliminated by applying the flat-field correction.
It should be stated here that one does not normally apply a flat-field correction to one of the flat-field images as we have done here; we have done this to show the dramatic effects of flat-field correction on pixel vignetting. Imagine the effect that such flat-field correction will have on lunar images showing similar pixel vignetting.
Screenshot of AstroDMx Capture for Windows streaming uncorrected data of a street light across the valley.

The pixel vignetting can be seen affecting the centre of the image and the edges of the image.
Screenshot of AstroDMx Capture for Windows streaming flat-field corrected data

The pixel vignetting has been eliminated.
Flat-fields should be collected before the imaging session. They can then be used in future imaging sessions with the same camera and scope configuration. They will need to be replaced if, for example, more dust accumulates on the sensor.
AstroDMx Capture can apply the flat-filed corrections in real time so that the video stream and saved data are all flat-field corrected. (As an aside, the same is true of dark-frames if they are required).
Starting up AstroDMx Capture for Windows and applying real-time flat-field correction to the captured data.
Starting AstroDMx Capture
When AstroDMx Capture for Windows has been launched, Click on the Connect button.
Any cameras that are detected are displayed in the drop down camera menu. In this case the SV105 presents itself twice. The WinUVC version should be selected.
Then the format drop down menu will show YUYV and Motion JPEG. Select YUYV.
This selects the uncompressed output format YUYV.
Then the Resolution drop down menu should be used to select 1920 x 1080. This camera does not support Region of interest, so there is nothing to be gained by selecting a smaller resolution.
Capturing flat-fields
Click on the calibration Frames button and select Capture Flats
Make sure that the scope is pointing at a uniform area of grey sky or that a white plasticard is in front of the scope.
Set the exposure slider so that the image is not saturated anywhere and the Pixel vignetting shows
The software is automatically set to capture 20 flat-field images and to save them plus the average flat field. This is the Master Flat. Click on the Capture button in the Calibration frames Flat fields dialogue window.
Twenty flat-field images will be captured and the Master, average flat-field is saved
When the flat-field have been captured a message saying so will appear.
Applying the flat-field correction in real time to the video stream and to any saved data.
Click on the calibration Frame button and select Load Master Flat
A Calibration Frames Flat Fields dialogue will appear
Click on the locate button and navigate to where the flat-fields have been saved
Select the flat field average data image (Not the flat-field average Histogram image)
Then select the Activate check box and you will see the flat-field correction immediately applied to the streaming video.
It can be seen that the flat-field correction has been made.
The flat-field correction can be toggled on and off using the Calibration Frame drop-down menu
Flat-field correction works by assuming that when the sensor is evenly illuminated with diffuse, white light, each pixel should contain the same information as every other pixel. With classical vignetting and Pixel vignetting this is not true due to various reasons. Flat field correction uses the information in the average (Master) flat-field to correct mathematically each pixel so that the original assumption is met. We saw this in action when a single flat-field showing bad pixel vignetting was corrected into an evenly illuminated image by flat-field correction. We also saw the correction in action in ordinary images in a video stream.
AstroDMx Capture for Windows, Linux and macOS is set up as we have seen to do the correction in real time so that corrected data are saved.
The SV105 and SV205 cameras can give good results if they are used correctly!
Unless issues are found during testing, AstroDMx Capture for Windows will be released in the next few days along with major releases for AstroDMx Capture For macOS, Linux, including the Raspberry Pi.
More picture details about the operation steps, you can find on his website, I hope it will help you.
https://x-bit-astro-imaging.blogspot.com/2020/11/using-sv105-cameras-correctly-with.html
There are no customer reviews yet . Leave a Reply !