SV503 telescope 0-1: Beautiful images with your phone and SV503
SV503 telescope 0-1: Beautiful images with your phone and SV503
1. The Background
The phones 10 years ago have 300,000 pixels and can only take pictures during the daytime. There will occur un-tolerable noise in the picture as the light is darker. Let alone shooting the moon, it will be horrible to shoot the night scenery.
At that time, the mobile phone is not good as the same price web camera, let alone an SLR camera. But the phone really upgrades a lot during the decades, with the CMOS sensor, 20 million pixels, and auto-focus as well as photometry functions. The most amazing part is the built-in processing chip can do image improvement, which includes sharpness, noise reduction HDR(high dynamic range), claiming to be comparable to DSLR.
2. The theory of shooting the moon with the phone
I believe all of you will remember the most simple way, aim at the moon with your phone and enlarge, click-Yeah, you get a moon image.
Yes, it is wonderful when you take such an image for the first time, but you will soon not be satisfied with the image quality and want to take some nice pictures as the SLR camera does. So you will need the aid gear: Astronomy telescope+phone camera, the easiest way to do Astro-photography. You only need to figure out one thing, should you take off the eyepiece or not?
The answer is no. The mobile phone camera structure is alike to people’s eyes.
So right now the only question is it is hard to aim the center of the eyepiece when you holding the phone and it will shake and shake.
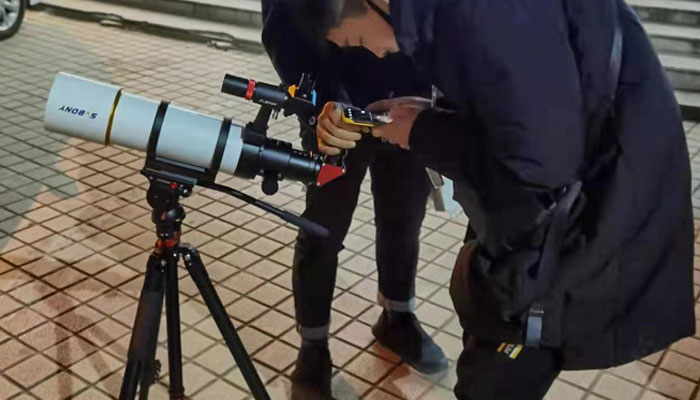
3. Astronomy Phone adapter
There are so many kinds that you can choose what you like. I will show you some SVBONY phone adapters.
The first one is the classical adapter and very cheap also keeps the advantage that easy to use.
(1)Loosen the eyepiece fixture, and put an eyepiece then tight it
(2)Loosen the left knob till you can put your phone
(3)Put your phone in the fixed support, note to evade the phone side buttons
(4)Adjust the phone bracket position and angle so you can align the camera and the eyepiece
(5)Open your camera, fine-tune the bracket till you can see the complete eyepiece field, then lock all the knobs.
(6)Take the eyepiece off as you need to use it to find the moon
4. Beautiful moon image with one click
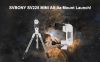
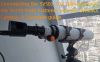
I will use the SV503 80ED telescope, the SVBONY eyepiece 15, 25mm, SV188P diagonal, RenMi phone rear camera, and the Classic Photography Adapter(W2546A) for the show.
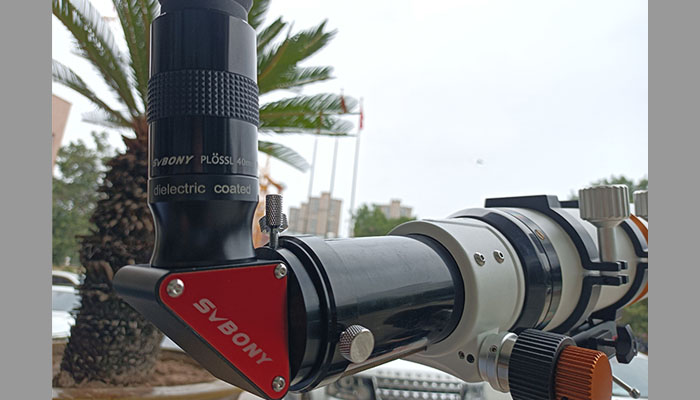
4.1 the SV503 telescope I use
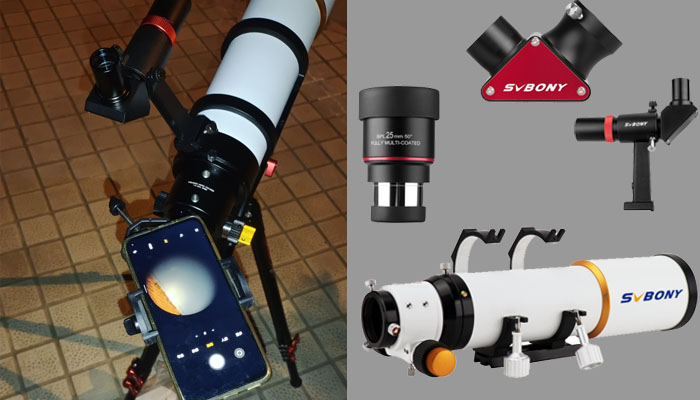
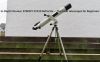
4.2 The whole set
So let us see what the phone camera can do. Do you still remember how to find the moon with your telescope, then do the focusing and install the phone.
(1)Panoramic view-the whole moon
Click the screen, and lower the brightness so the image won’t overexposed;
Wow, really feel a sense of accomplishment when you take such a nice moon photo.
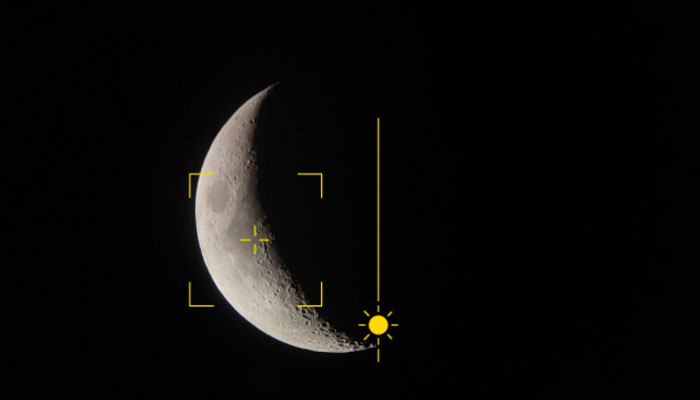
(2)Partial close-up moon
As long as within the scope range( take SV503 80ED for example, the max magnification is 80×2=160), you can try the higher power eyepiece to get more details and discover your scope’s full power.
(3)Tip
You can use the time-lapse shutter to get a sharp moon image and avoid the shake when you touch the phone;
There will be a color cast if you don’t focus the eyepiece center, especially in high power;
The cheap eyepiece will introduce color aberration, downgrade your ED or APO telescope to ordinary achromatic scope;
Also, using your pro camera mode to set the ISO and exposure time will allow more fine photos, and a low ISO like 200 will reduce the image noise point.
Thanks for watching!