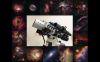
One night with Lunar (1)
One night with Lunar (1)
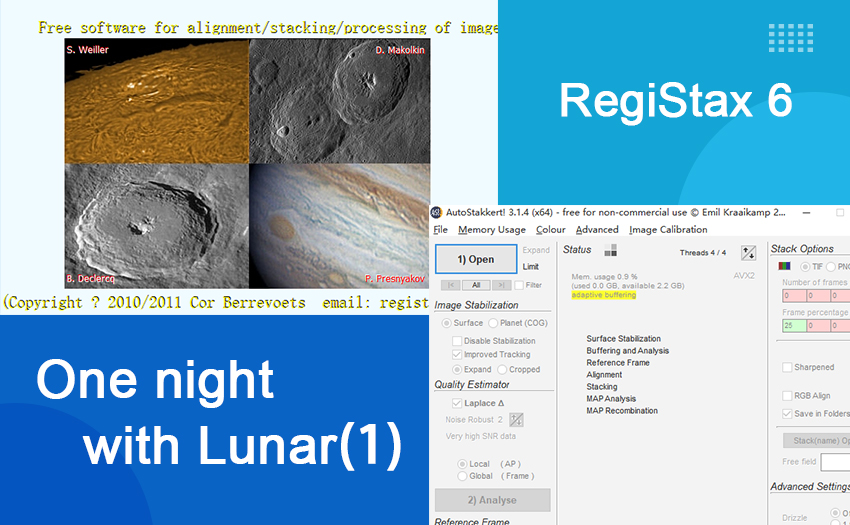
On a clear night just a few days ago, my colleague and I tried to capture the moon with an SV501P refractor telescope and SV205 camera on Sharpcap. We also did some processing with Autostakkert!3 and RegiStax6, well, the result is not perfect, but we did have a wonderful time. So in this blog, I want to share a little experience about using that two software, and some of our works will be put at the end of this blog, any thoughts and suggestions are welcomed.
Stack with Autostakkert!3
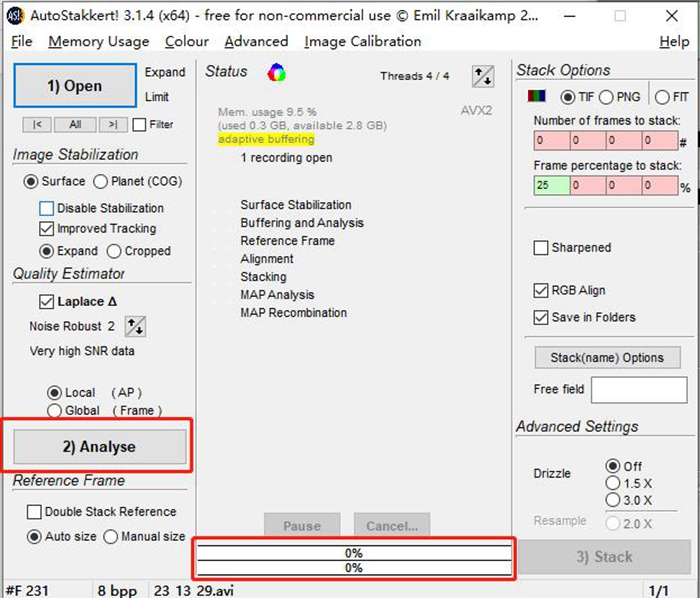
At the start of the following steps, open the file of your recording in Autostakkert!3.
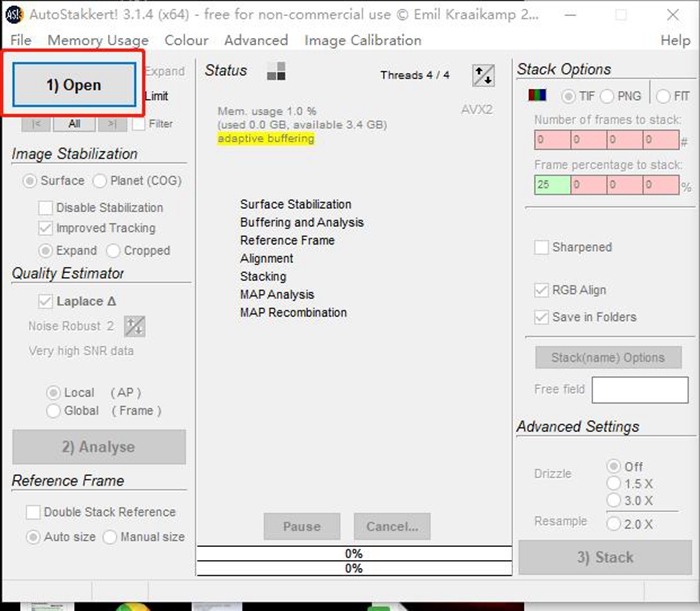
After that, you will find that you just unlocked multiple functions, let me introduce them to you separately.
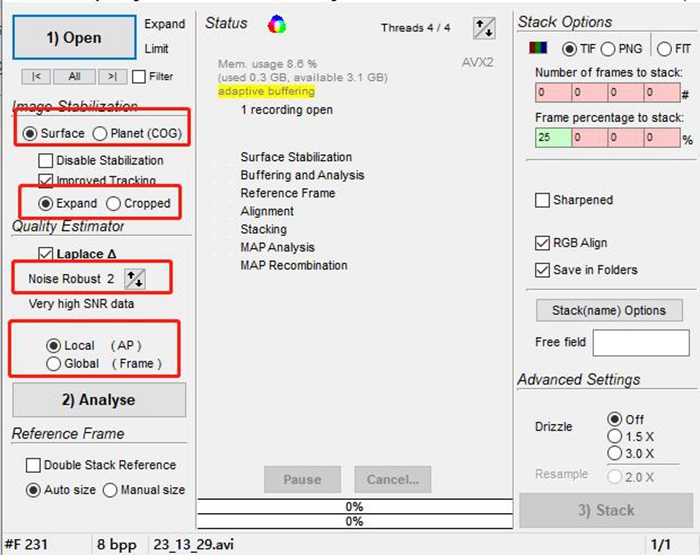
1. Surface and Planet.
The surface would just be OK for the Lunar surface.
2. Expand and Cropped
Basically, the Expand will lead to a picture with more field of view and that’s an advantage for the processing followed.
3. Noise Robust
The bigger the number is, the more the noise would be canceled. Normally, 2 or 3 would be fine.
4. Local and Global
If you have good tracking the Local would be a better choice, because it could take the biggest advantage of the clear part of every frame.
After all of these finished, there is still some works to do in another window.
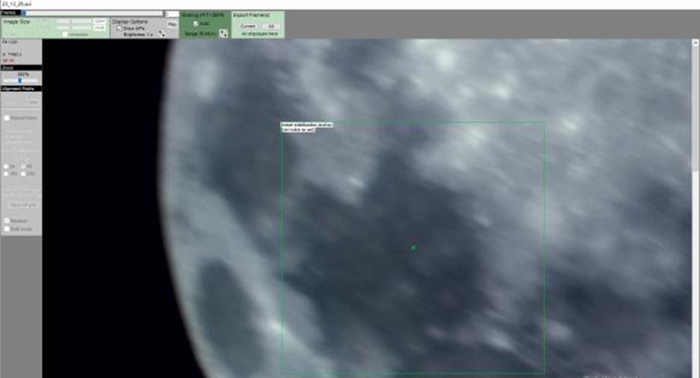
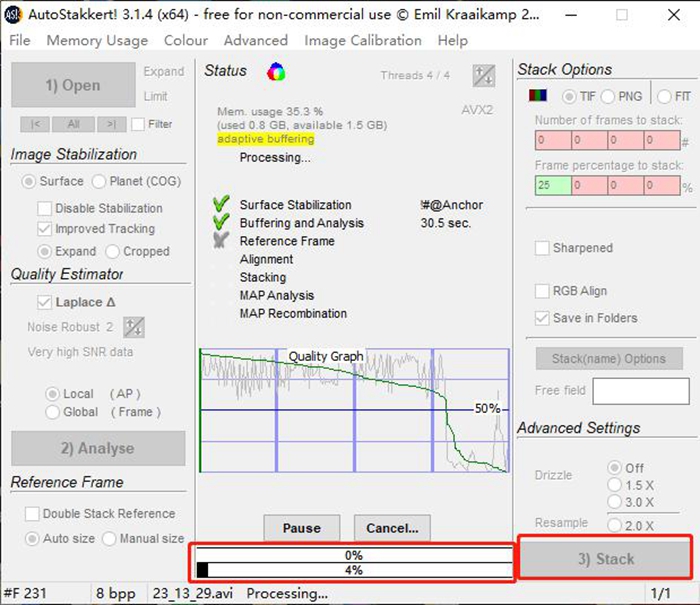
The region selected by the green square is an analysis region. selecting another region is allowed by holding Ctrl and the left mouse button. Then, the analysis started which would take seconds to minutes.
let’s do the stack next.
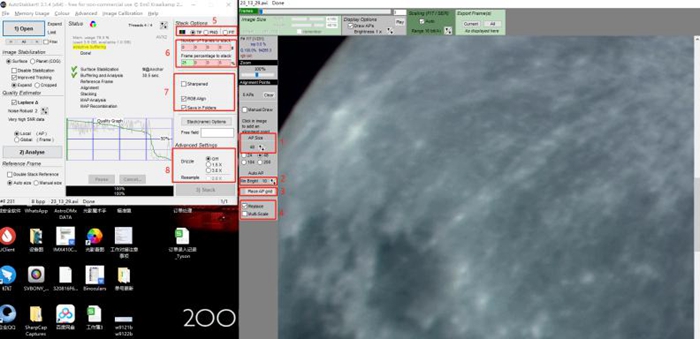
- 1. AP size
It decides the size of the AP grid, normally 56-64 will be fine. Bigger if you used Barlow.
- 2. min Bright
The minimum brightness of the reference region. 5-10 is OK and we choose 5.
- 3. Place AP grid
Click the button and AI would put the AP grid on.

- 4. Replace and Multi-scale
Replace means clicking Put AP grid will make AI put APs all over again if you already have placed them. As for Multi-scale, it’s for planet stacking, so you can just ignore it in this case.
- 5. Format
TIFF is recommended because it has no pixel loss, better for processing.
- 6. Quantity of frames stacked
The first row is to adjust the certain number of frames to stack, and a certain percentage for the second. You just need to fill in one of the rows. There are 4 blanks to fill in each row, generally filling the first blank is enough. If the last three blanks are also filled with different numbers, the same pictures will be stacked 4 times according to the different numbers.
- 7. Sharpen, RGB aligned Save in folders
Just save the process of sharpening to RegiStax6. If the color camera is what you used to record the moon, then you need to check RGB align and Save in folders is also need to be checked.
- 8. Drizzle and Resample
Both of them are not for the lunar surface and, to tell the truth, I don’t even really know the meaning of them, gotta keep learning I guess.
Now, there are only two things that need to be done, click the Stack and wait.
That's the whole process for me to stack my clip of the moon, in the next blog, I will share my experience of using RegiStax6.